Incorporating multi-channel cameras into your NVR setup offers enhanced surveillance capabilities.
While the Hikvision NVR effortlessly achieves plug-and-play functionality for the IP cameras via Power over Ethernet (POE) connections, adding a multi-channel camera poses a challenge, as only the first channel of the camera is typically displayed on the NVR.
However, rest assured that with a straightforward configuration process, all channels of the multi-channel camera can be seamlessly displayed on the NVR.
Basically, if you have an IP camera that provides multi-channels, you can have these channels displayed separately in the NVR (on each channel, you can add a separate feed from multi-channel camera).
In this guide, we will walk you through the step-by-step configuration process to effortlessly integrate multi-channel cameras into your NVR system, ensuring a comprehensive and reliable surveillance solution. It’s quite easy and logical, it can be completed in a few minutes.
How to add multi-channel cameras to NVR through POE
Step 1: Enable POE Ports on the NVR
Before adding multi-channel cameras to your NVR system, ensure that the POE (Power over Ethernet) ports on the NVR are activated.
This allows the NVR to provide power and network connectivity to the cameras through a single Ethernet cable.
Next, verify that the number of enabled channels on the NVR matches the number of multi-channel cameras you intend to integrate. This step is crucial for seamless camera detection and proper functionality.
 To enable PoE ports go to Configuration > System > Camera Management > PoE Channel and tick the boxes for each channel you plan to use.
Step 2: Camera Connection and Status Confirmation
Connect the multi-channel camera to the NVR using an Ethernet cable, ensuring that the camera’s POE port matches the POE port on the NVR.
 Once the camera is physically connected, the corresponding POE channel on the NVR will indicate that the camera status is “offline” (detecting).
During this detection phase, the NVR is identifying the camera and establishing a connection. Typically, this process takes about one minute.
After successful detection, the channel will display that the camera is now “online.”
 Step 3: Modify Channel Parameters
Now that the primary channel (D1) is online, you can proceed with configuring the multi-channel camera for proper display.
Select the secondary channel (D2) on the NVR and click the ‘Edit’ option to access the channel parameter modification interface.
Within this interface, you will find the adding method parameter, which allows you to choose between “plug and play” and “manual” mode.
Select the “manual” mode to gain greater control over the configuration process. By doing so, you can set all the parameters related to the camera’s integration into the NVR.
 Step 4: Configure Channel Settings
With the “manual” mode selected, you can now customize the camera’s parameters for seamless multi-channel display.
Start by modifying the IP address of the D2 channel to match that of the D1 channel. For example, if the D1 channel’s IP address is 192.168.254.4, set the D2 channel’s IP address to the same value.
Next, adjust the channel port to reflect the appropriate channel number of the camera. Since we are configuring the second channel of the camera (D2), set the channel port to ‘2’.
Additionally, input the camera’s password to ensure secure communication between the NVR and the camera. Once you have completed the configuration, save the settings to apply the changes.
 Step 5: Check the Cameras’ Live View
To complete the integration process, click ‘OK’ to confirm the settings. As a result, the multi-channel camera will be successfully added to the NVR system.
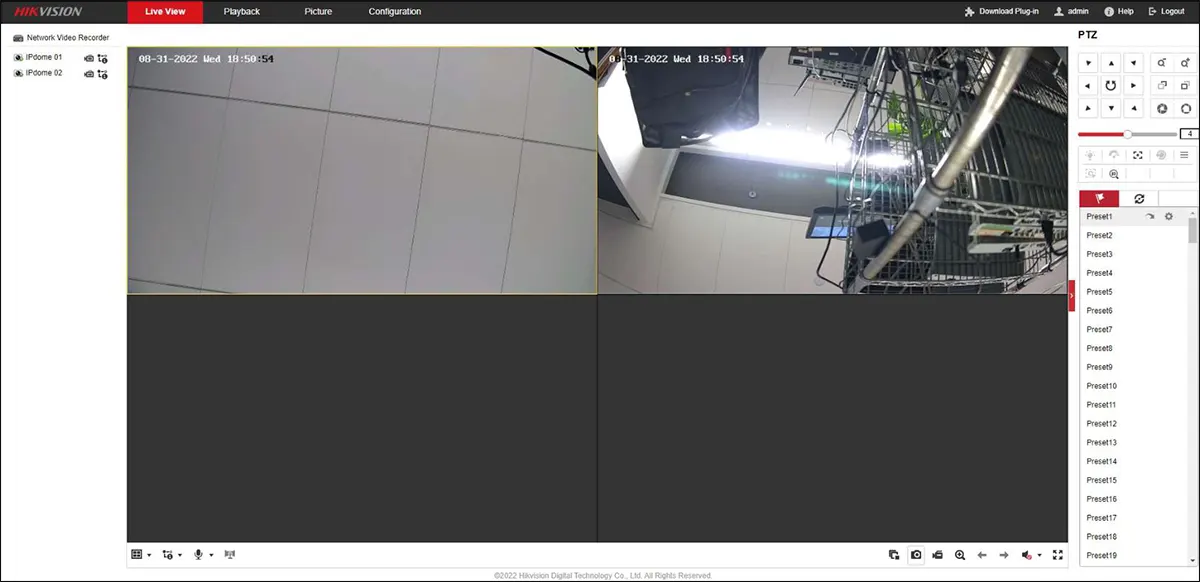
Both channel 1 and channel 2 (or more, if applicable) of the multi-channel camera will be online and accessible from the NVR’s user interface.
Now, you can effortlessly preview and monitor all channels of the camera through the NVR, enhancing your surveillance capabilities.
 By following these step-by-step instructions, you can easily integrate multi-channel cameras with your NVR system, providing comprehensive and reliable surveillance coverage for your security needs.
What is a multi-channel IP camera?
A multi-channel IP camera, also known as a multi-stream IP camera or a multi-sensor IP camera, is a type of network camera that can capture and transmit multiple video streams from different lenses or sensors within a single camera housing.
Unlike traditional IP cameras that typically have a single lens, multi-channel IP cameras incorporate two or more lenses or sensors, allowing them to capture video from different angles or areas simultaneously.
These cameras are designed to provide more comprehensive and versatile surveillance coverage, as they can monitor multiple areas or directions without the need for multiple individual cameras.
Each lens or sensor in a multi-channel IP camera can be independently configured to capture different video streams at varying resolutions, frame rates, or viewing angles.
The various video streams generated by a multi-channel IP camera are typically transmitted over the network using different channels or streams, hence the name “multi-channel.”
