Axis cameras are able to record the footage independently on their micro SD cards. Then you can retrieve the footage (or just playback it) via the web browser or by using the Axis management software.
In this guide, we will discuss how you can set up SD recording on an Axis camera and how to enable motion detection (Event Recording) which saves valuable space and makes it easier to pinpoint relevant incidents.
How to enable SD recording on Axis cameras (Event Recording)
First of all, you need to purchase the correct SD card for your security camera. We don’t recommend at all going with cheap microSD cards that may damage the camera and risk the footage.
You can pick decent SDs cards from reputable manufacturers as reviewed in this guide or you can even use an Axis SD card. Either way, it’s fine if you use an OEM SD card (for example Sandisk). They work fine, are highly reliable, and don’t compromise the picture quality.
So, get one of these cards, and then let’s move to the next step. The cards must be fast and reliable to record videos without compromising the quality, so just make sure you pick the correct card to avoid problems.
Format the microSD card
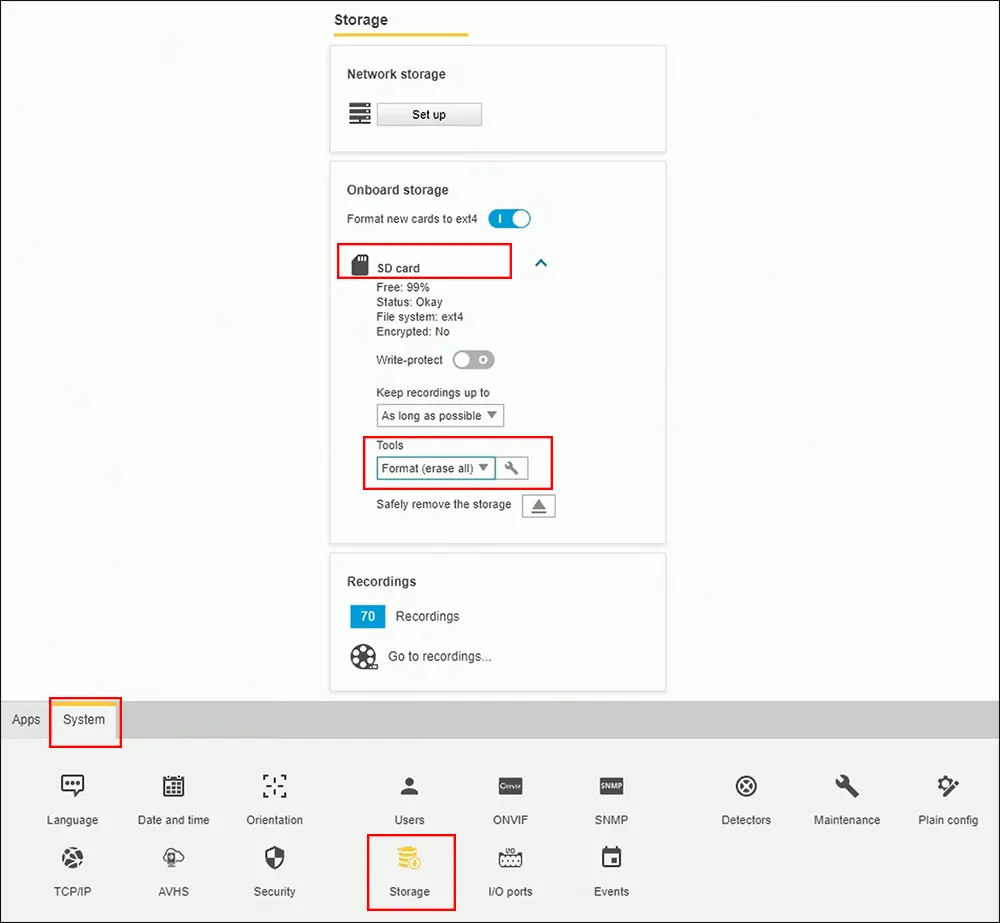
Before setting up the event recording mode on the camera’s settings, you need to format the SD card. All you need to do is go to the settings and start the format procedure. Axis cameras operate on Linux systems and the SD card gets formatted using the etx4 file system.
Navigate to Settings > System and Storage. Click on the little arrow on the right side to expand options. At the bottom, you should see the Tools box, choose the Format (erase all) option. The picture below shows the interface on the new Axis firmware.
If you’re using an old version of the camera, the old interface looks a little bit different (as seen below).

Just make sure the SD card is formatted using the ext4 protocol.
Setup the SD card recording (motion detection)
In this step, we will set the camera to record the video stream on the SD card. There are different profiles and triggers that can make the camera start recording.
Regardless if you’re using a new interface camera or an old one, the steps and logic are the same (with minimal differences).
The steps to set your Axis camera to record on a micro SD card:
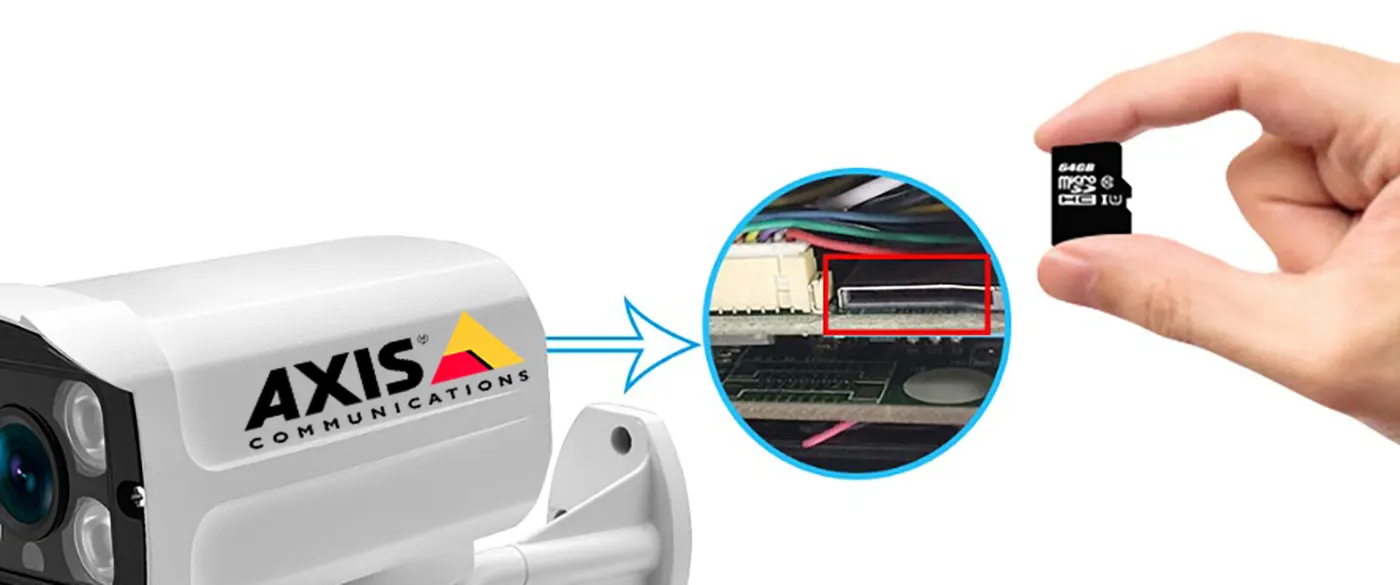
Insert the micro SD camera into the camera. Ensure the direction is correct and it’s fully in. Format the SD card as shown above (using the ext4) filesystem.
Access the camera via the web browser and navigate to Settings > Events. Here you need to create a new rule. As a condition, select VMD (Video Motion Detection).
As an action, select “Record video while the rule is active” (in other words, it will start to record when motion is detected by the software).
Prebuffer indicates how many seconds you want to record before the motion is detected, postbuffer notes seconds once the motion has ended.

On the Storage option, ensure the SD card is selected. Save the settings to create the new configuration. As you can see from the Axis Video Motion Detection center, the camera is recording based on motion detection (status: running).

Follow these steps for the old Axis interface:
Go to the Setup section and click Event > Action Rules and then click the “Add…” button. Enable the rule and give it a name of your choice.
Then select as a condition Detectors > Motion Alarm. The Action should be Record Video and select your stream profile.
Choose the SD card option on the Storage tab. Tick the pre-trigger and post-trigger boxes and add 5-10 seconds. Hit OK to save the settings.

That’s all it takes. Once saved, the camera will follow the rule and record the footage anytime the motion detection is detected by the software. The pre and post time allows the camera to record extra seconds before and after the motion has ended.
Additionally, there’s also an option to enable Continuous recording which means the camera will record 24/7. However, the microSD cards are small in size and they’ll run out of space pretty quickly. We’d recommend recording based on trigger events (motion).