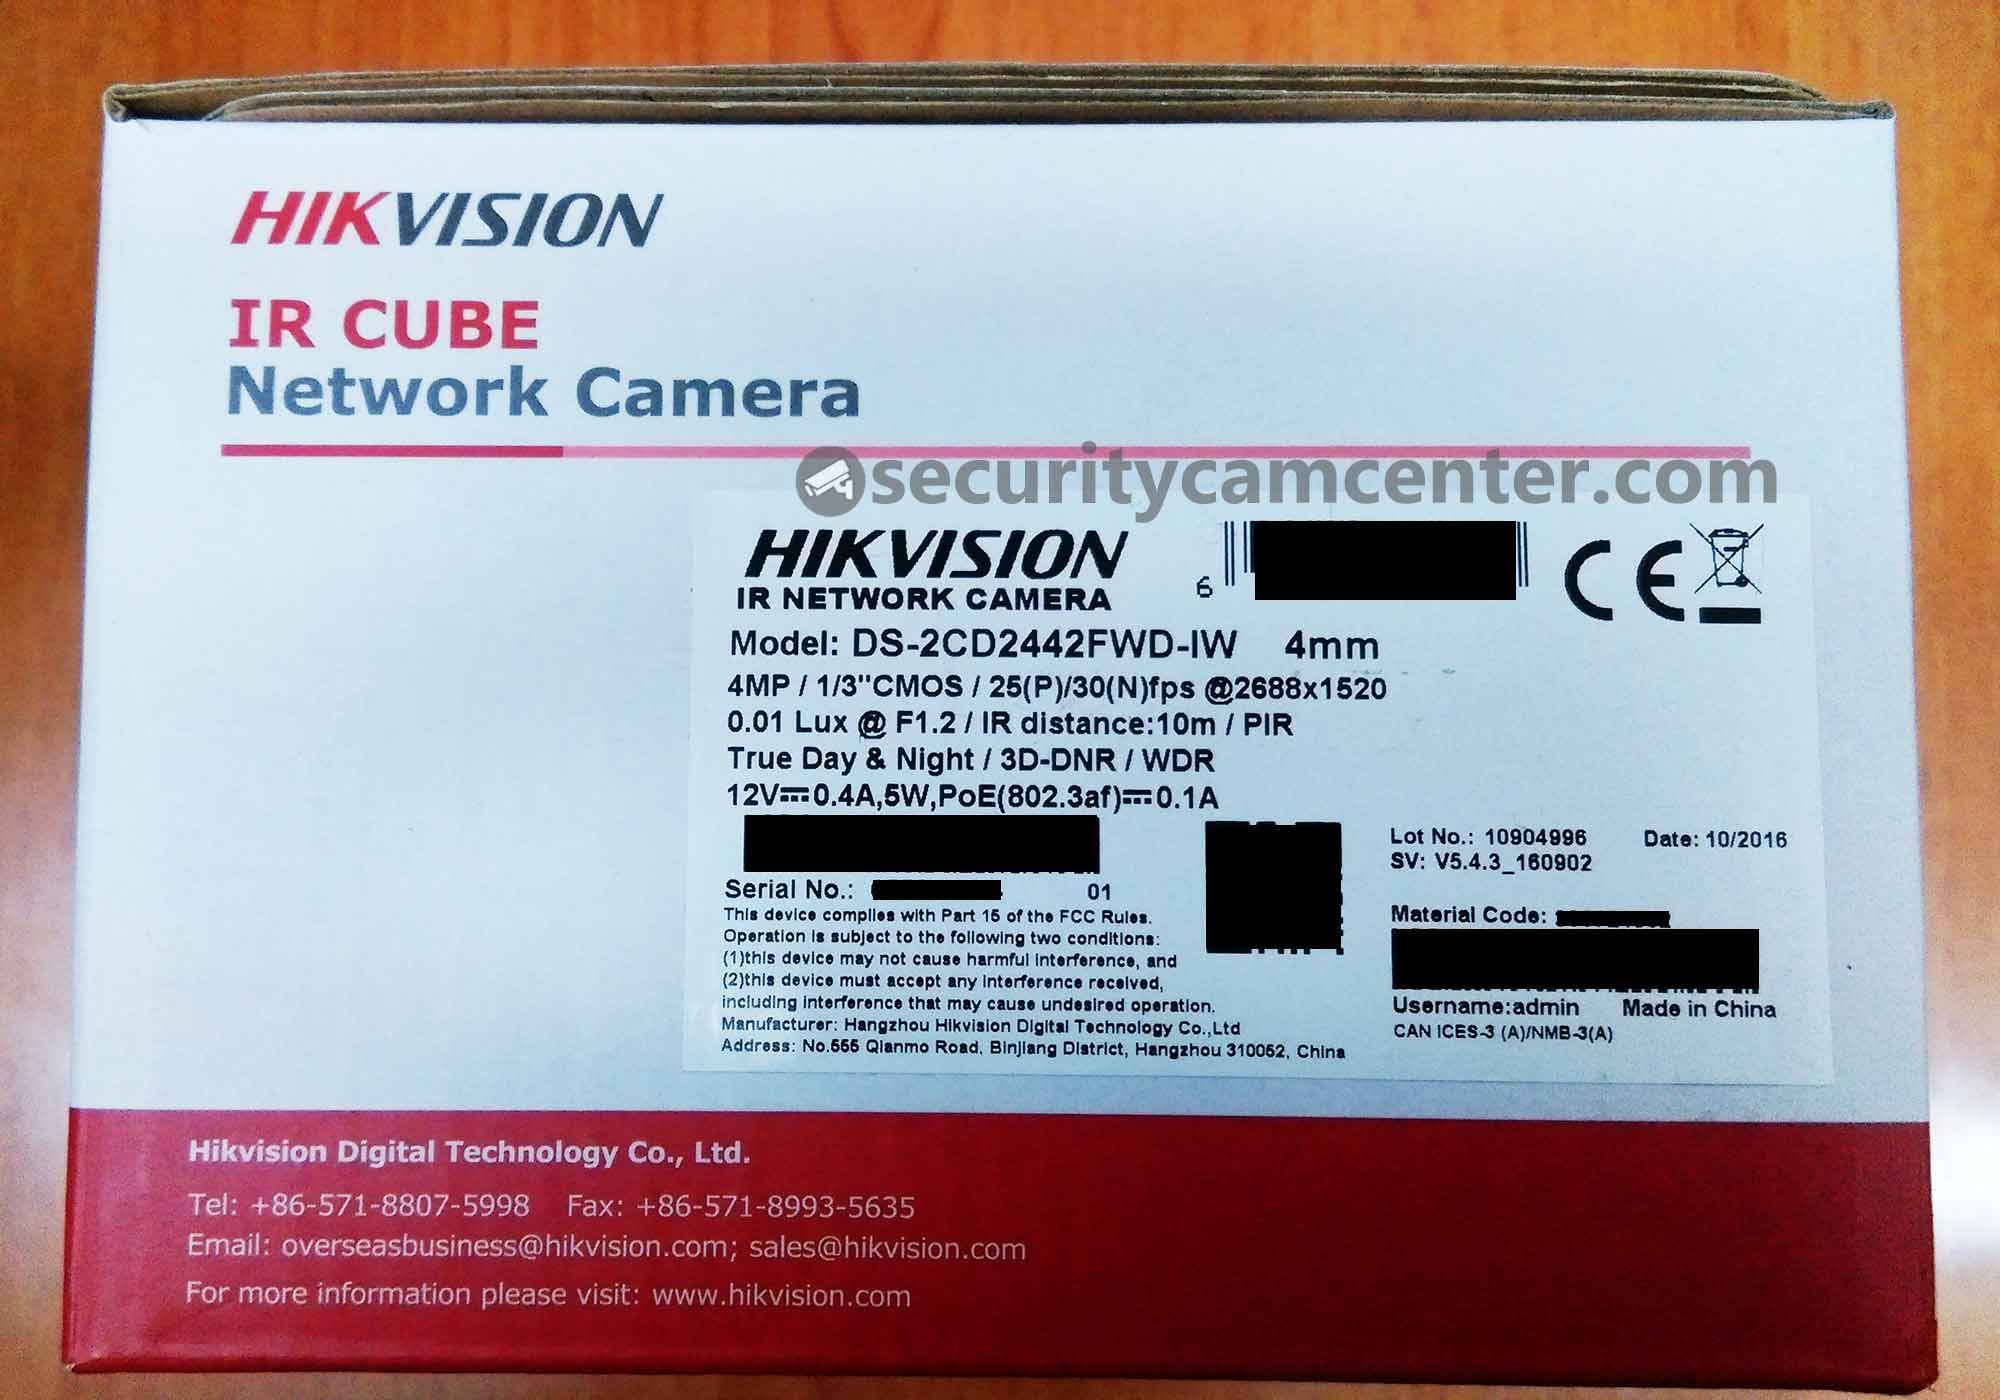
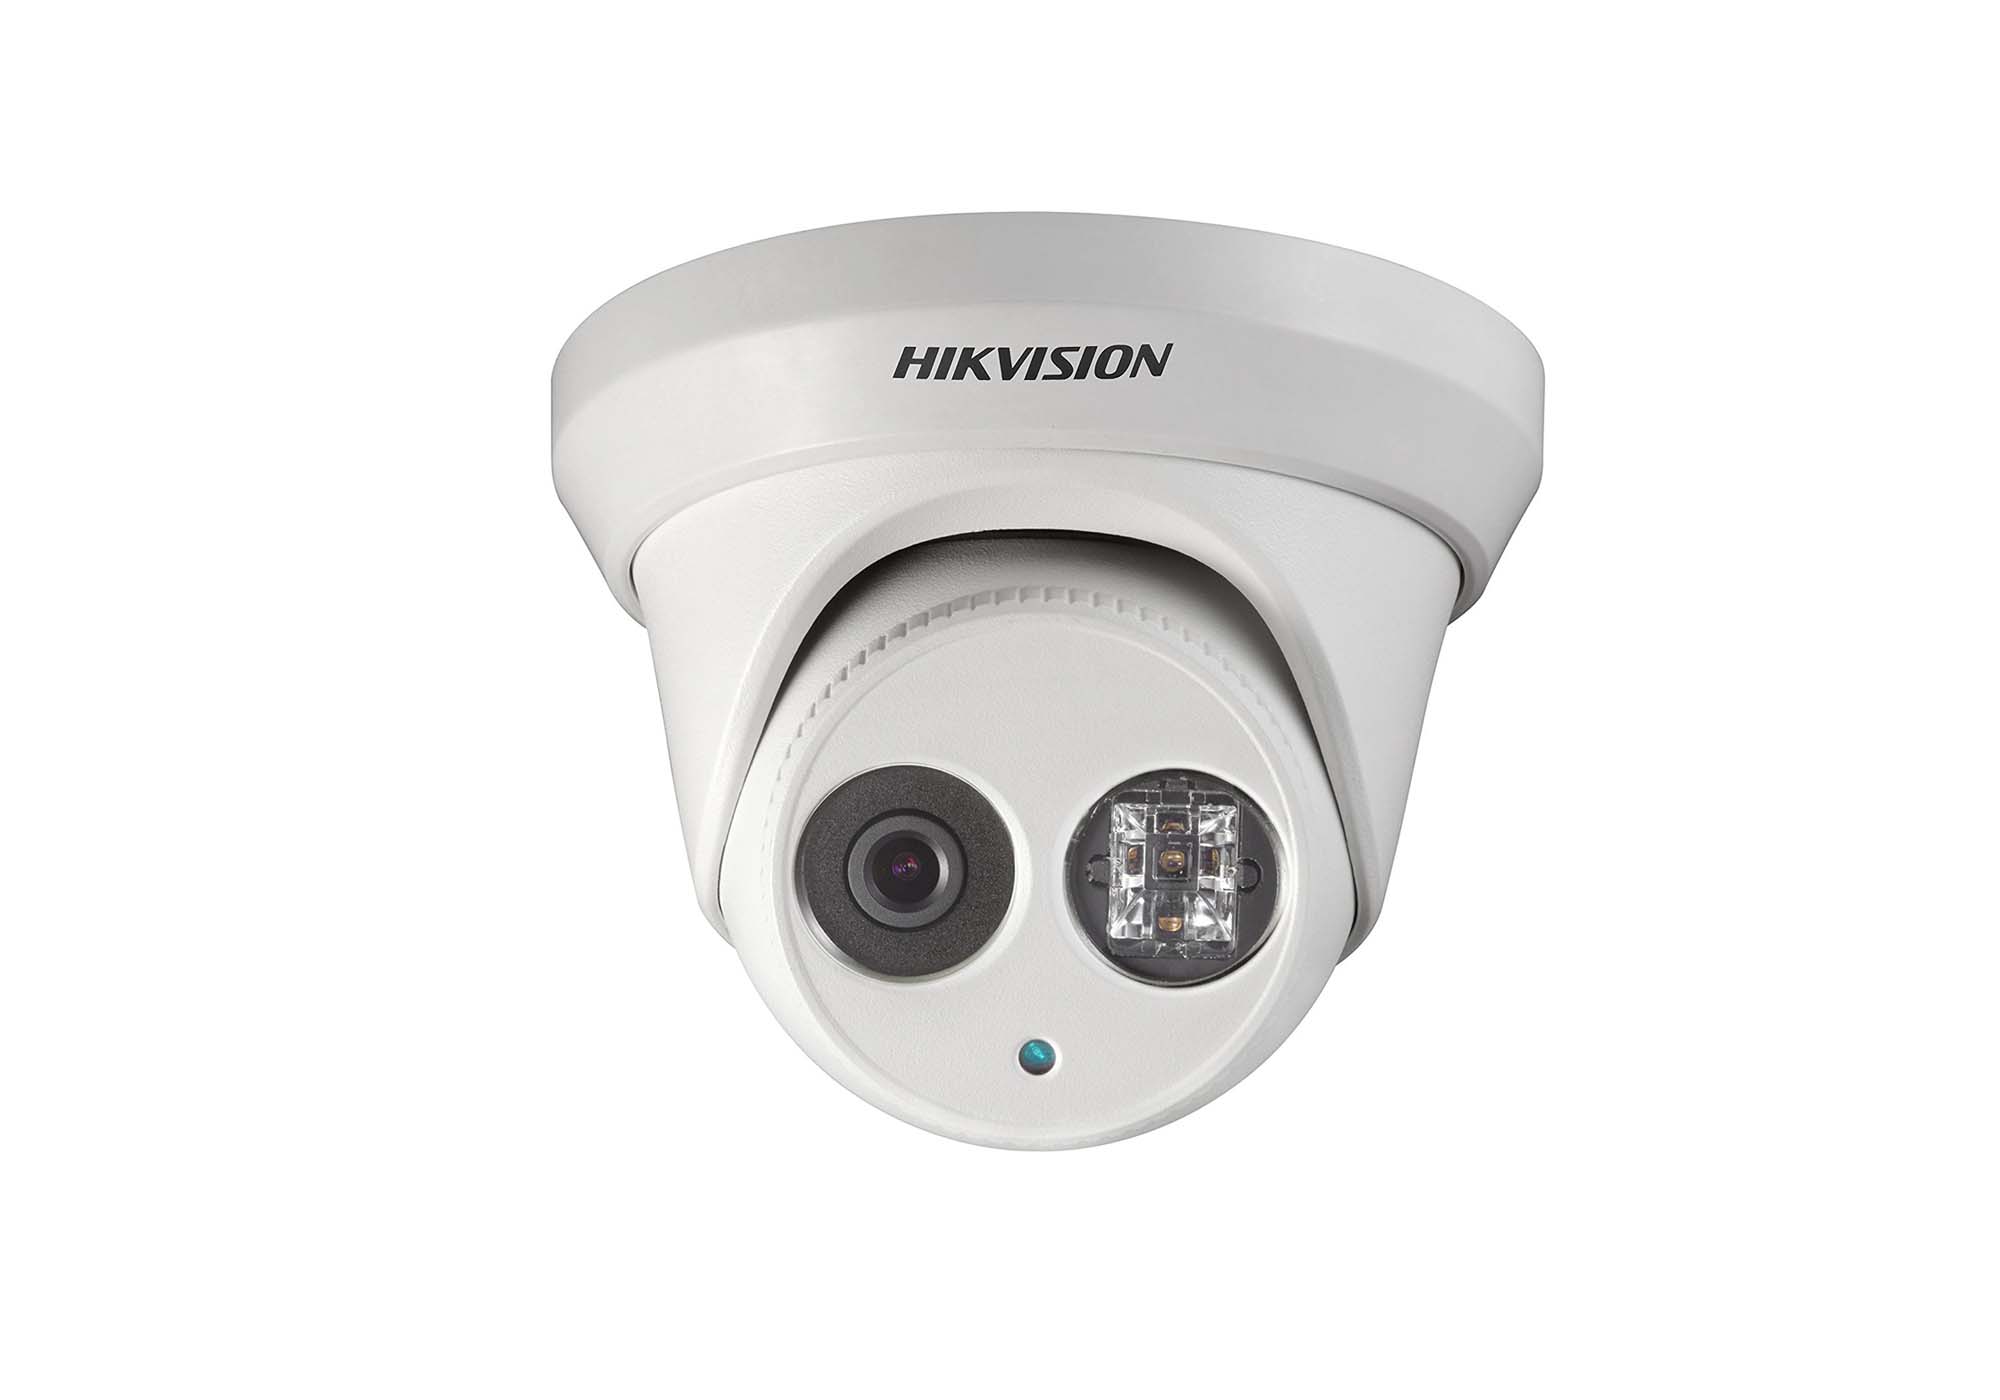
This Hikvision 4MP Cube Camera is an inexpensive compact camera suitable for indoor use, with an impressive feature set. Featuring a 4MP 1/2.8″progressive scan CMOS sensor and a 2.8mm lens (or 4mm), this camera can capture 2688 × 1520 resolution video at up to 20 fps in a 105° field of view (or 83° for the 4mm version).
It has both WiFi and Ethernet connectivity and can be powered either by PoE (Power-over-Ethernet) or by a 12v power adapter, making it easy to install in any network environment. A built-in microphone and speaker allow two-way communication, while the IR LED allows the camera to produce clear images at night from up to 33′ away (10 meters).
Review: Hikvision Cube IP Camera


The main features:
• Up to 4-megapixel high resolution
• Full HD1080p Real-time video
• 120dB Wide Dynamic Range
• Back Light Compensation, 3D Digital Noise Reduction
• DC12V & PoE powered
• Supports H.264, H.264+ Technology
• Infrared LED- Up to 10m IR range
• Support on-board storage up to 128GB
• Built-in Microphone and Speaker
• Built-in PIR sensor – up to 10m at 80 degree
• Built-in WIFI – IEEE 802.11b/g/n
Installation
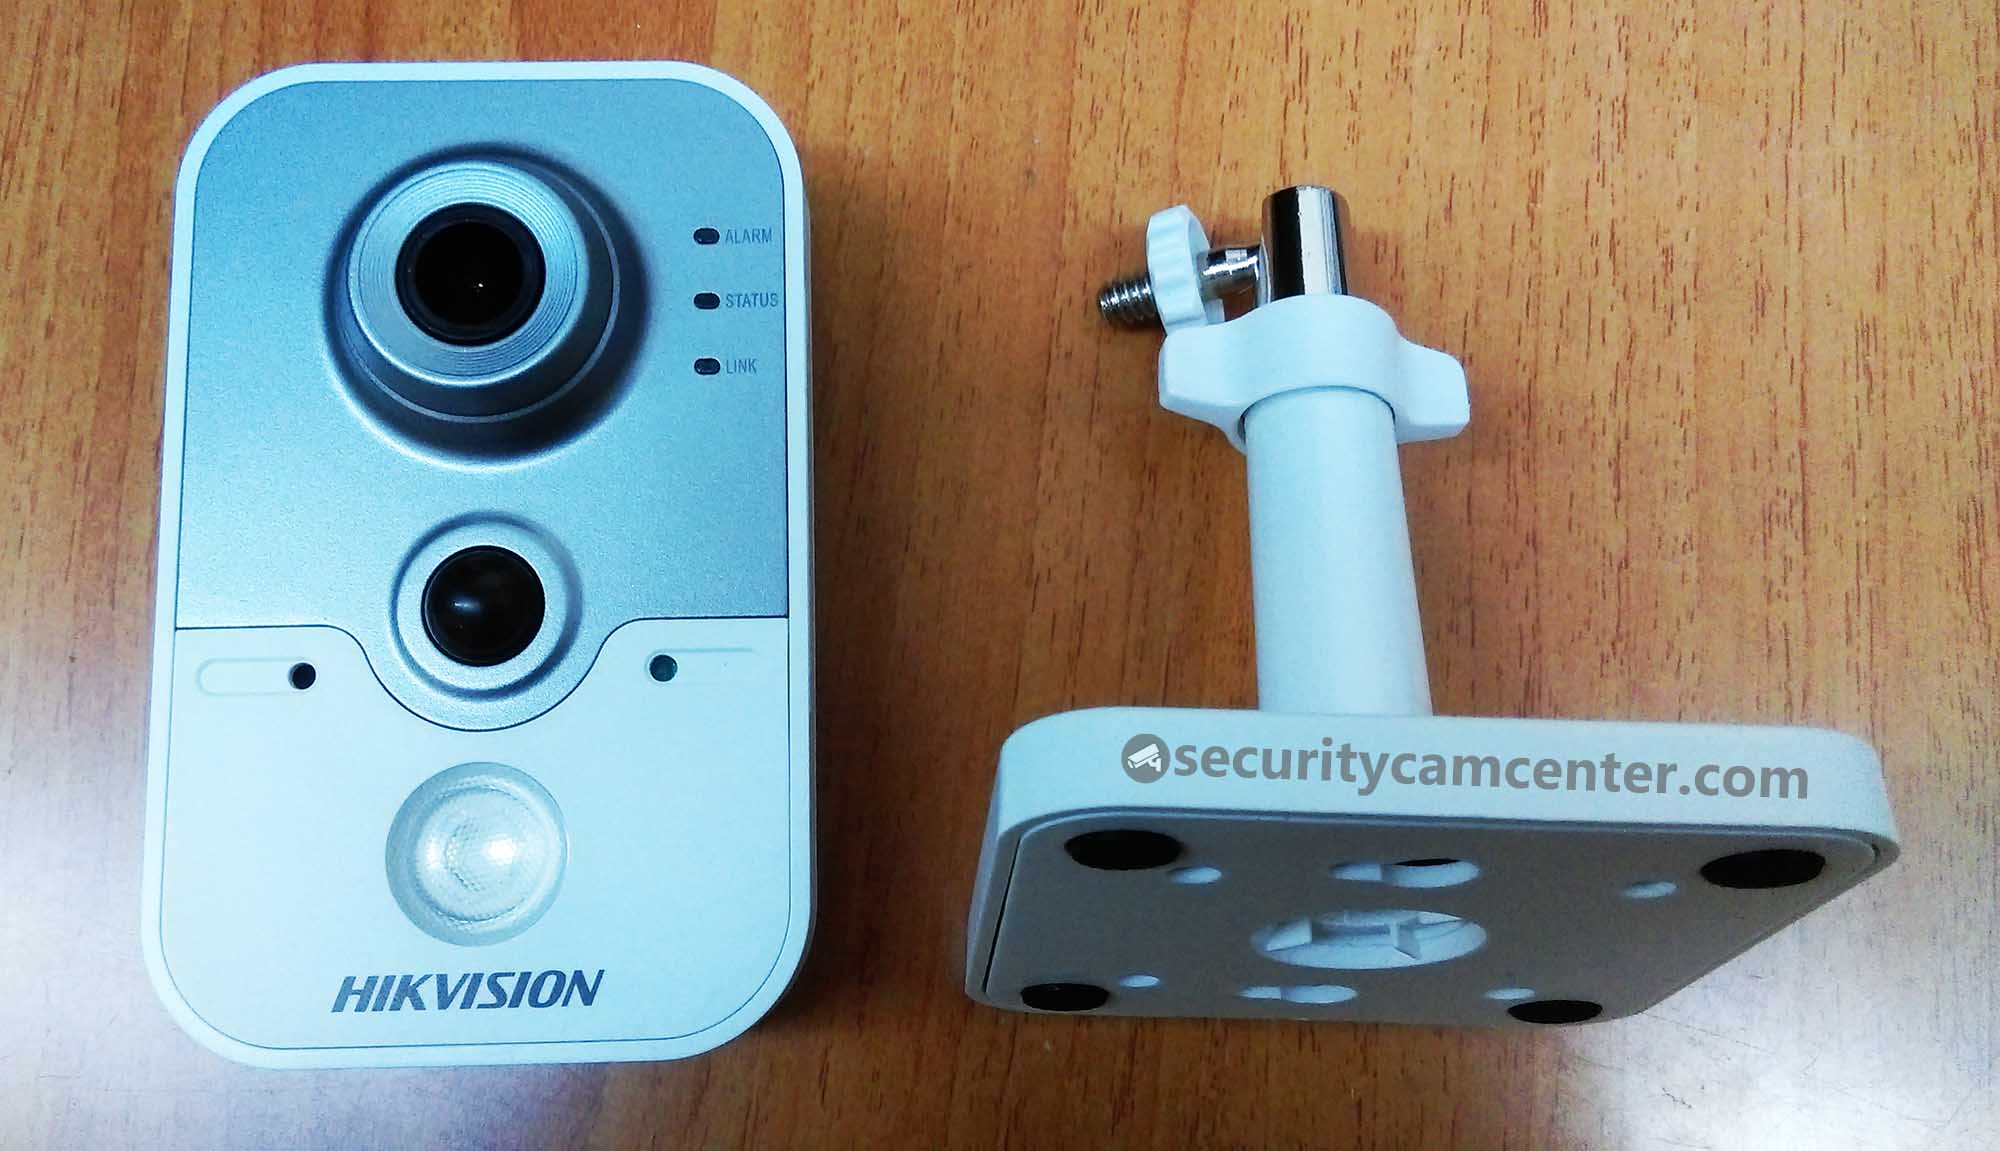
The camera body itself is all-plastic, but it’s well-constructed and has a solid feel to it. It comes with a stand as shown in the pictures. The mounting bracket is part-metal and is surprisingly sturdy given its small size and plastic appearance.
You loosen the gray collar and it allows you to aim the camera as you wish. You can remove the plastic cover at the base, and you can use screws to attach it to a wall, ceiling, angled or straight and the plastic base cover snaps back in to give it a nice clean look.
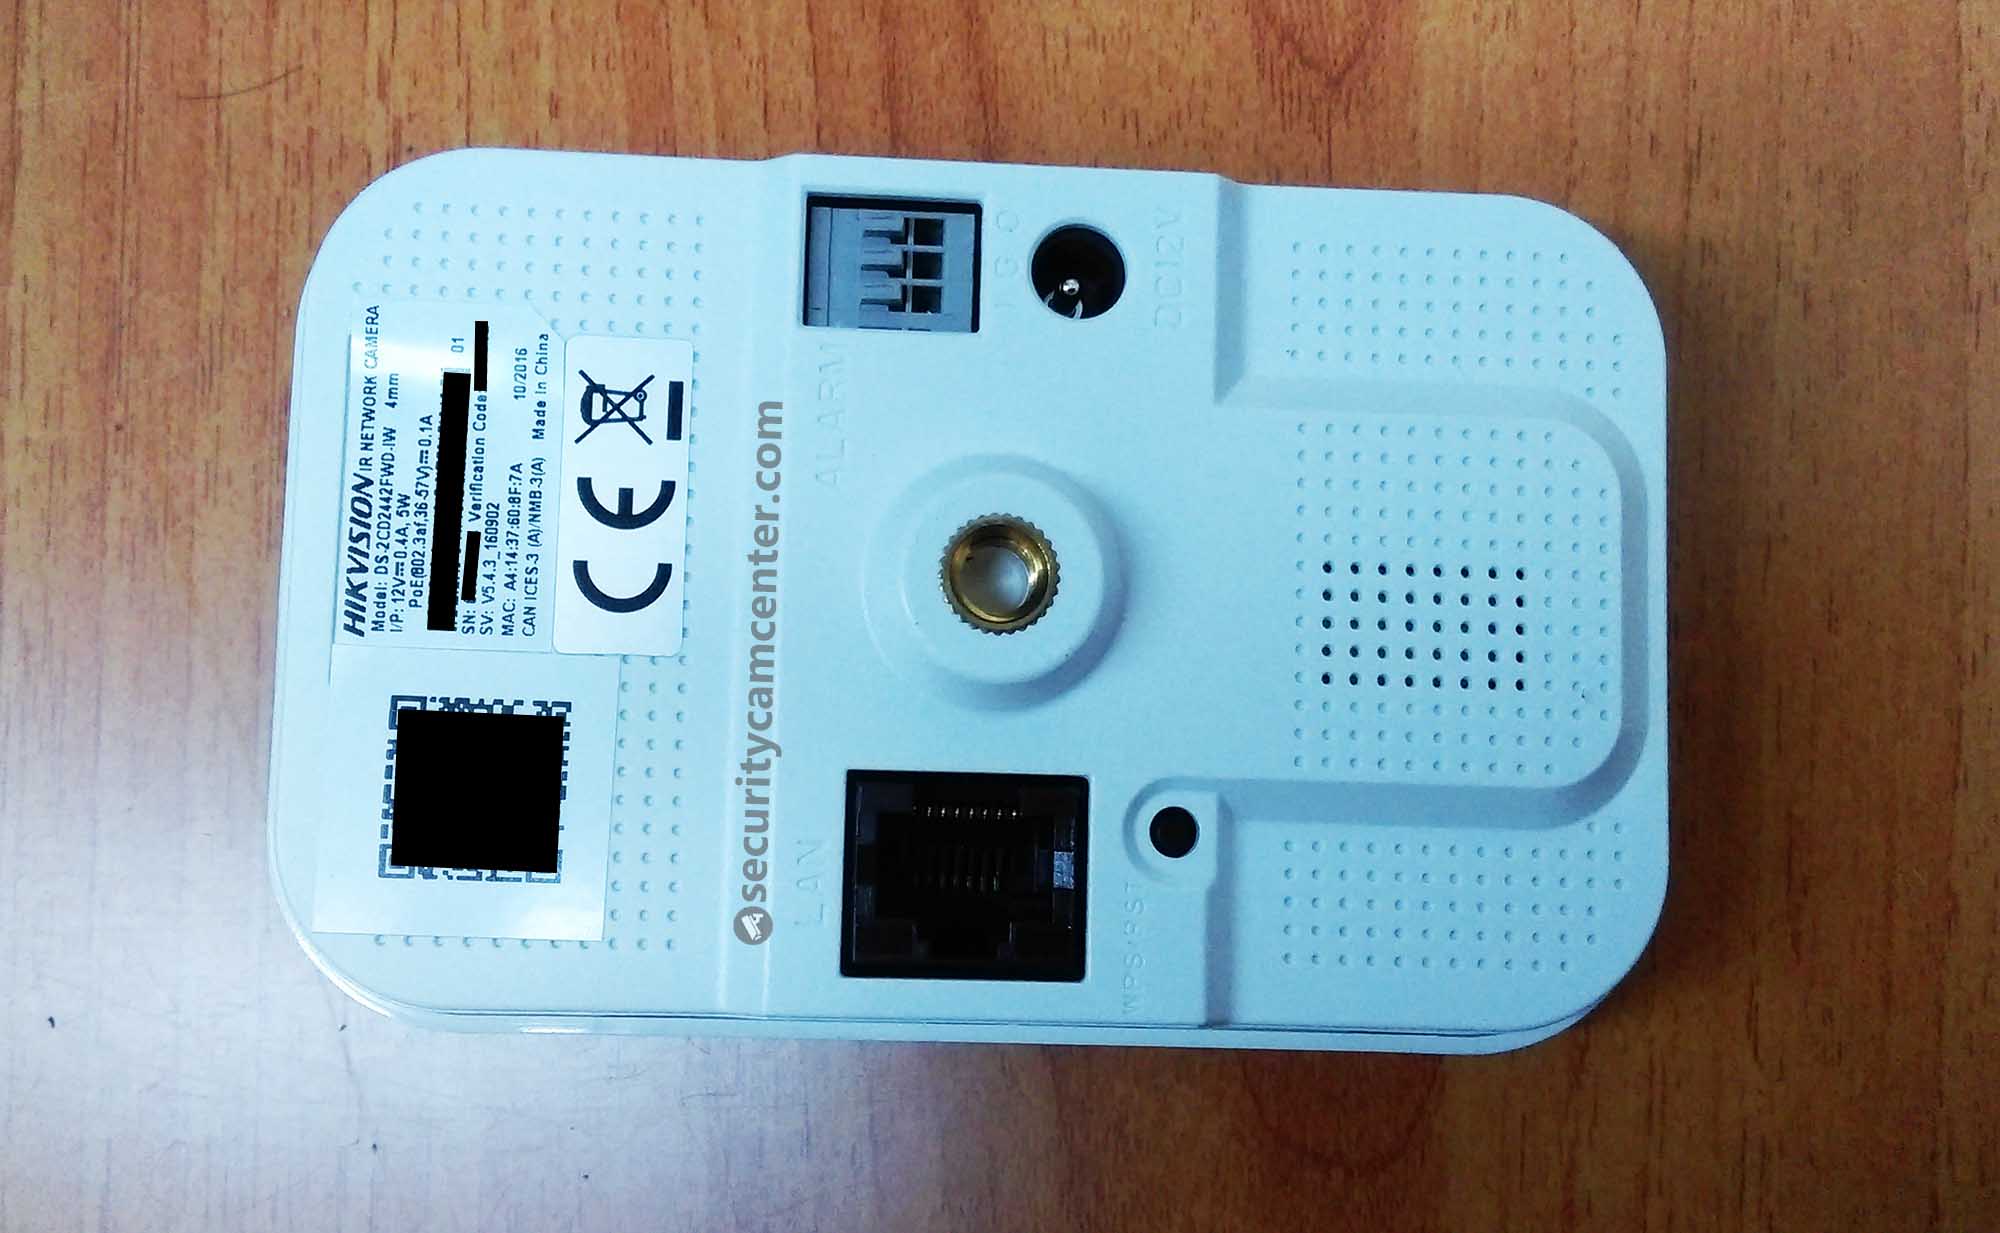
Use the PoE or the WiFi to hook up the camera to the network. PoE works as you would expect and is the absolute best way to use this camera if hardwiring is an option for you. On the WiFi and as you can imagine, the further you are from your WiFi source, the lower the frame rate gets at 4MP or less than that.
To get the full-frame rate, you need to be fairly close to your WiFi router/access point. It still connects further away, but the video starts getting choppy. Recordings to the SD card remain smooth as it’s independent of the network, but if you were recording to a PC NVR, WiFi may not be the best solution and PoE is recommended.

Configuration
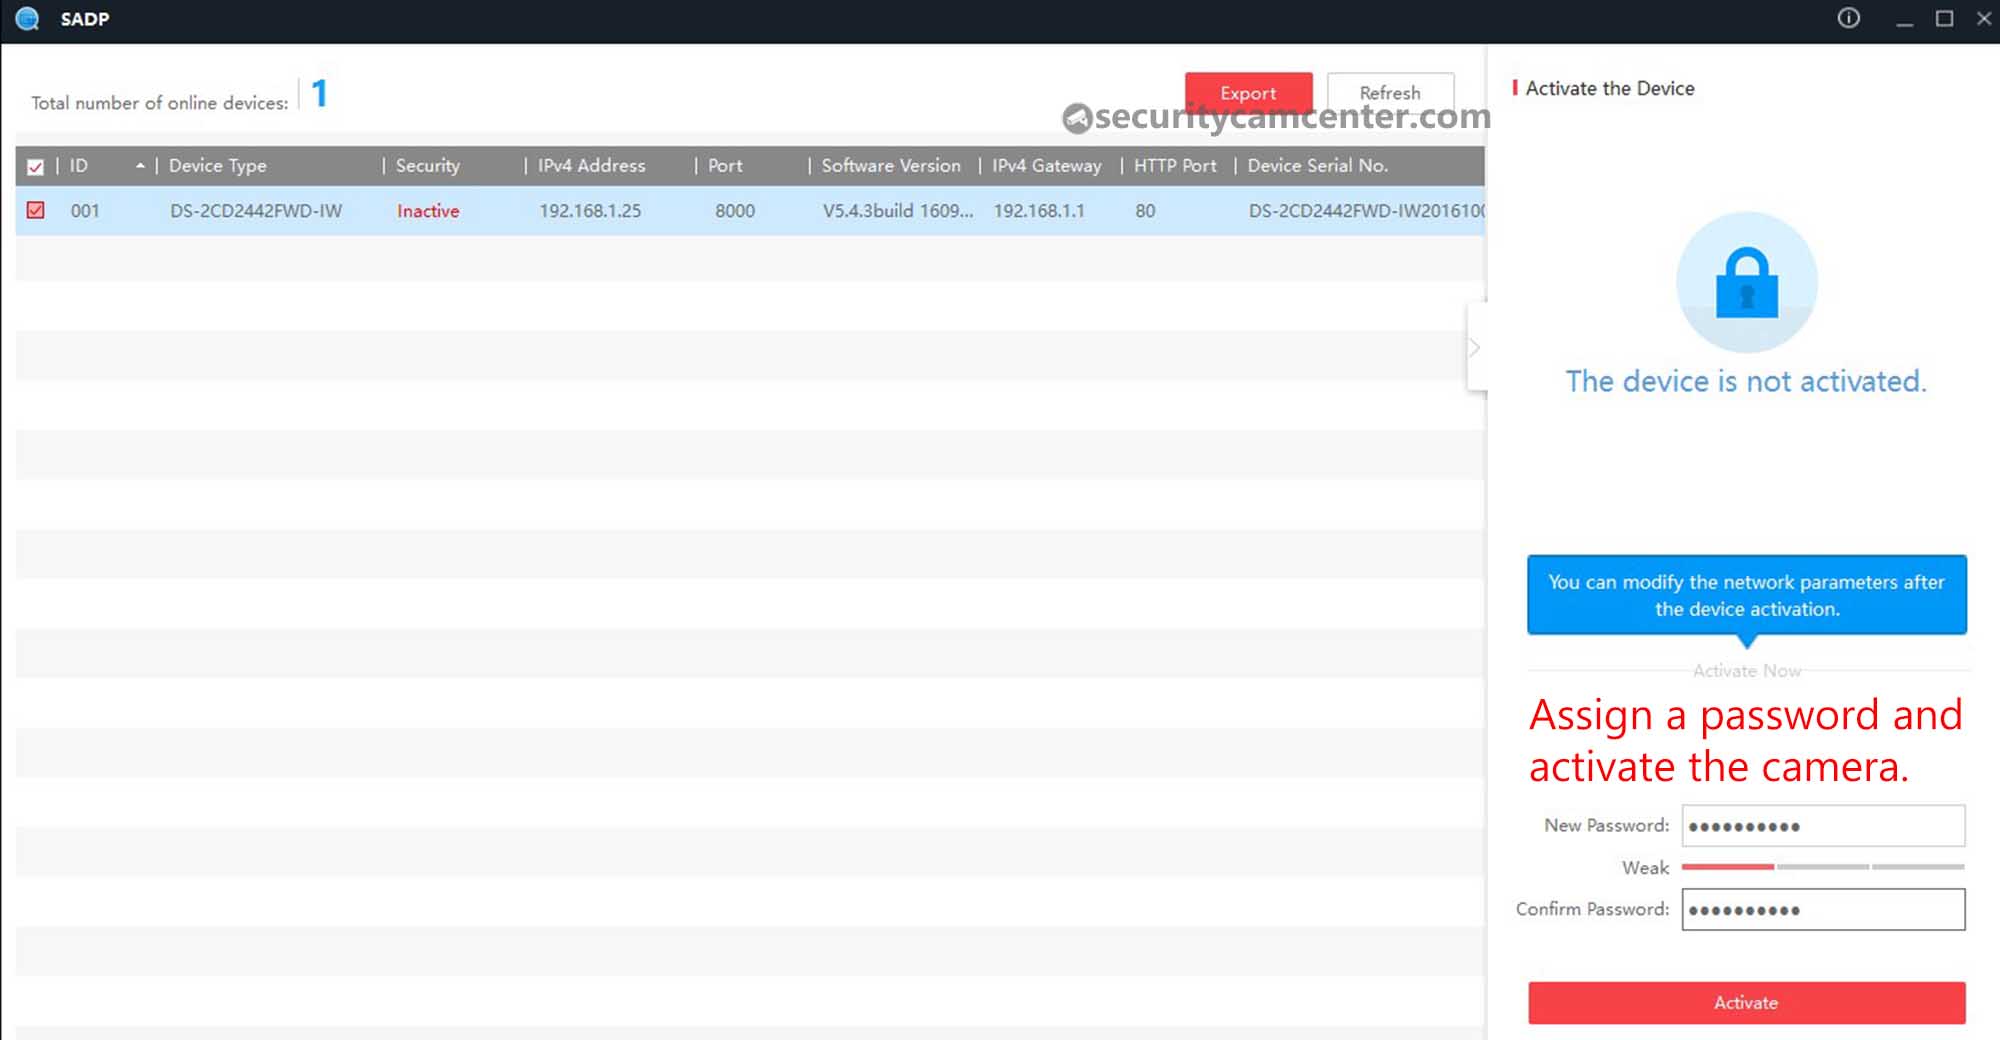
This 4MP Hikvision cube Camera comes with 5.4.3 firmware and by default, the camera is inactive, which means there’s no password setup for the camera. Install the SADP tool that comes with the camera (or you can download it on our Tools section) and put the camera on your network.
If everything is hooked up properly the camera’s IP address will show up on the SADP software (default IP: 192.168.1.64). Activate the camera by setting up your own password and then modify the IP to match your own network. In our case, we set the IP to 192.168.1.221.
The camera’s web interface is comprehensive and easy to use and generally works well on Windows or Mac web browsers. Use Internet Explorer, Mozilla Firefox ESR, or Safari to access the camera (Chrome or Edge won’t work).
Under the Network menu under Advanced Configuration, you can set the IP address for the wired LAN and the WiFi in the “WLAN” tab. You set the IP address of each as you wish. The camera must first be connected via Ethernet to configure as is common with many WiFi cameras.

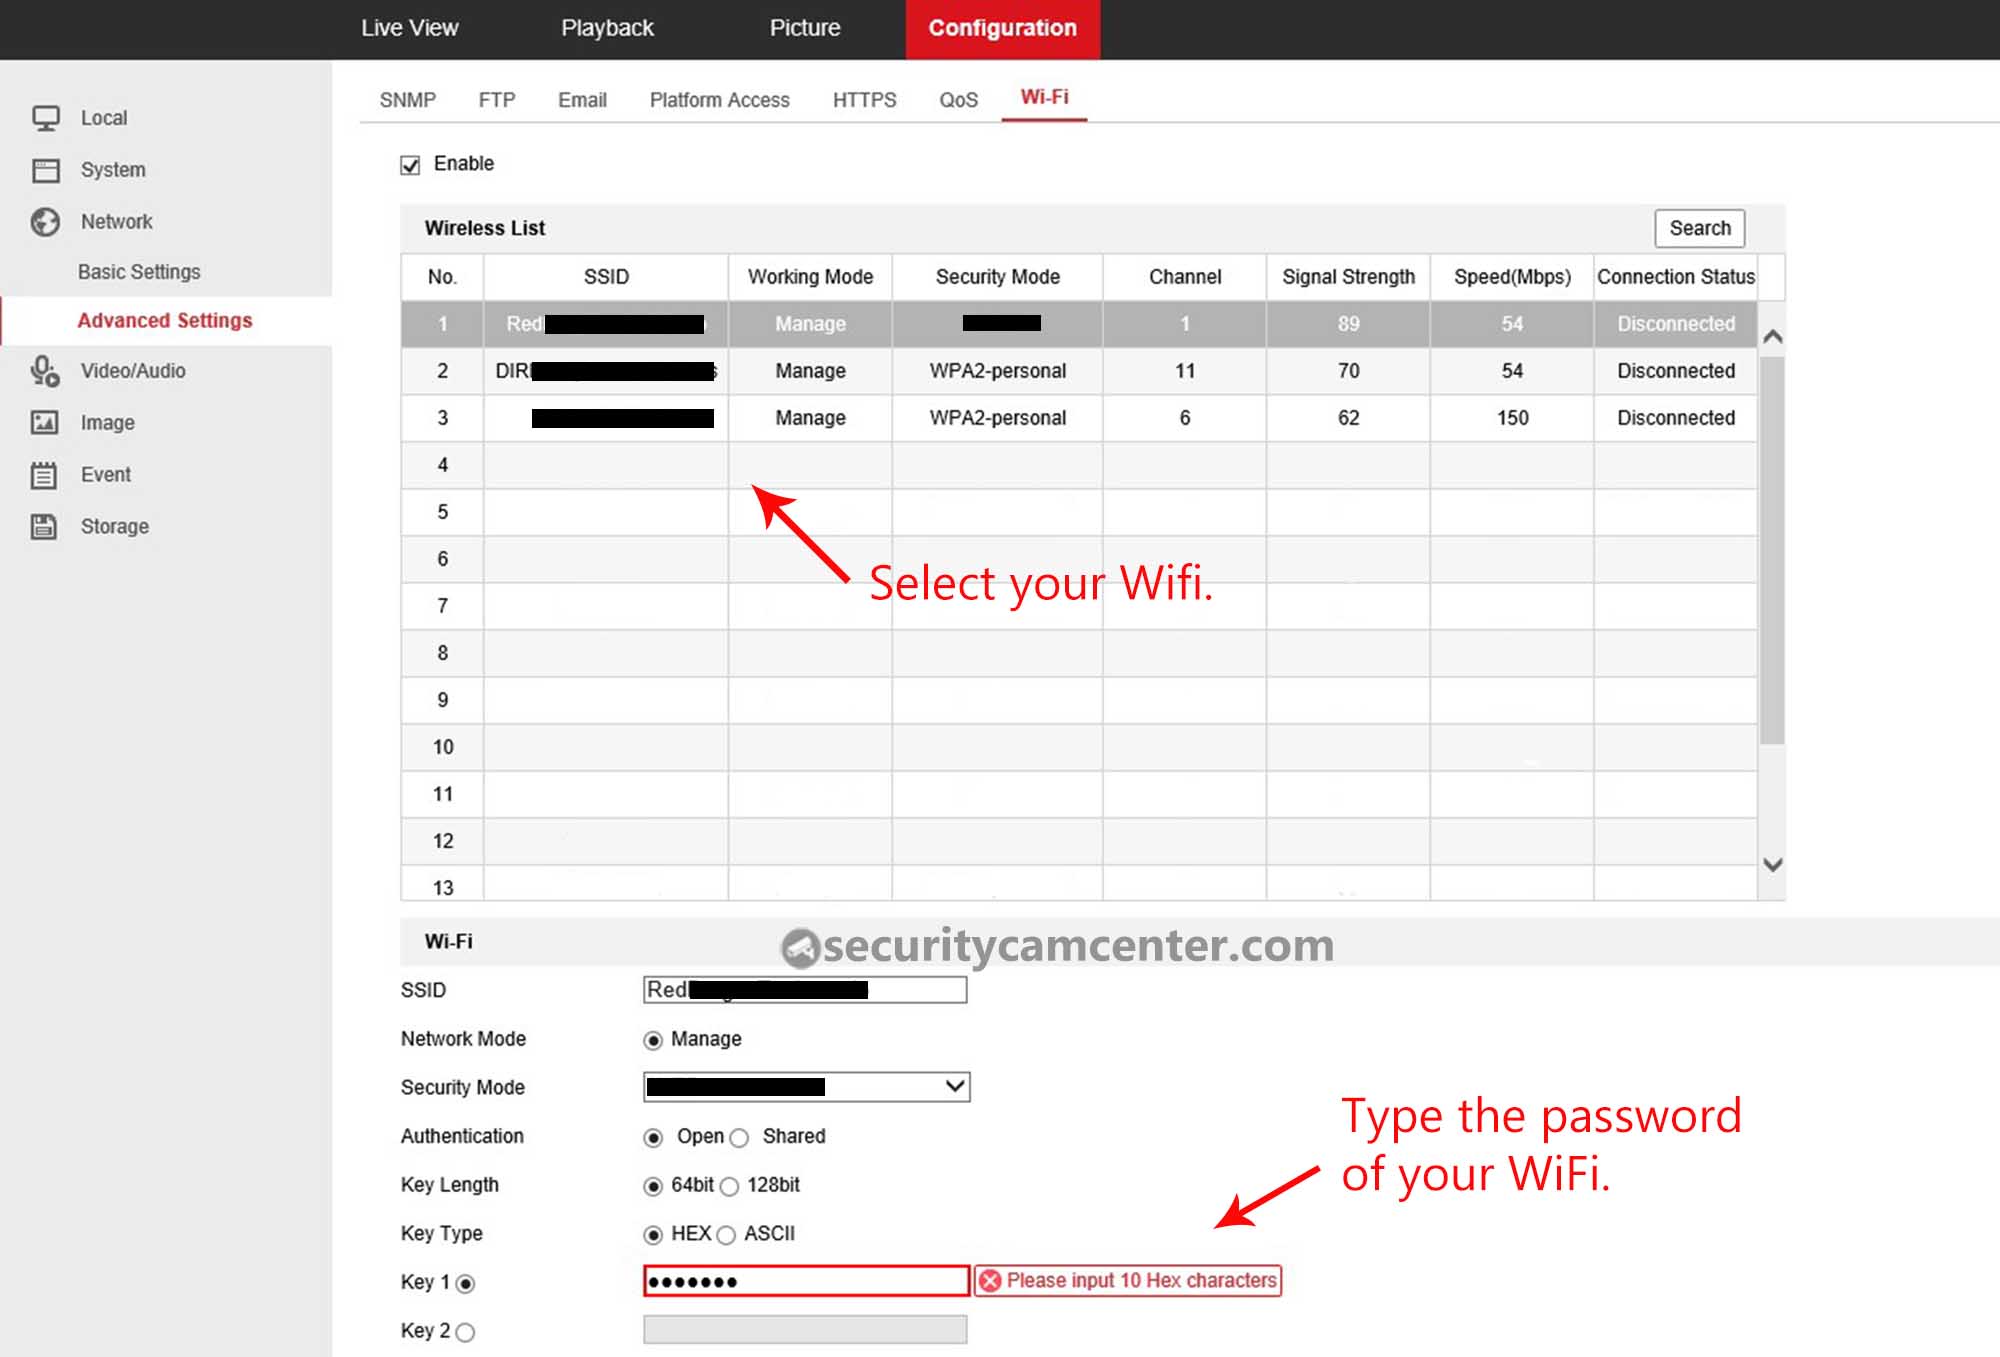
WiFi options are set under the WiFi tab. You can have it search your area for WiFi networks by clicking the Search button. Click on the network you want to connect to and provide a password if needed (make sure to type it correctly).
You can connect to a regular WiFi router type network (Manage) or connect directly to a device, like to a PC without going through a router (Ad-Hoc). After your WiFi shows “connected” you can disconnect the power or the PoE feed from the back of the camera and the device will work on wireless (via the IP you did set up on “WLAN”).
In the same menu option, you also have the Time Settings tab where you can set the date/time or use an NTP time server to automatically sync the time to your chosen time zone.
For New York, the time zone is -05: 00. To set daylight savings time, you need to go to the same menu option under the Advanced Configuration. (DST for the USA: The second week of March at 2 am and the first week of November at 2 am).

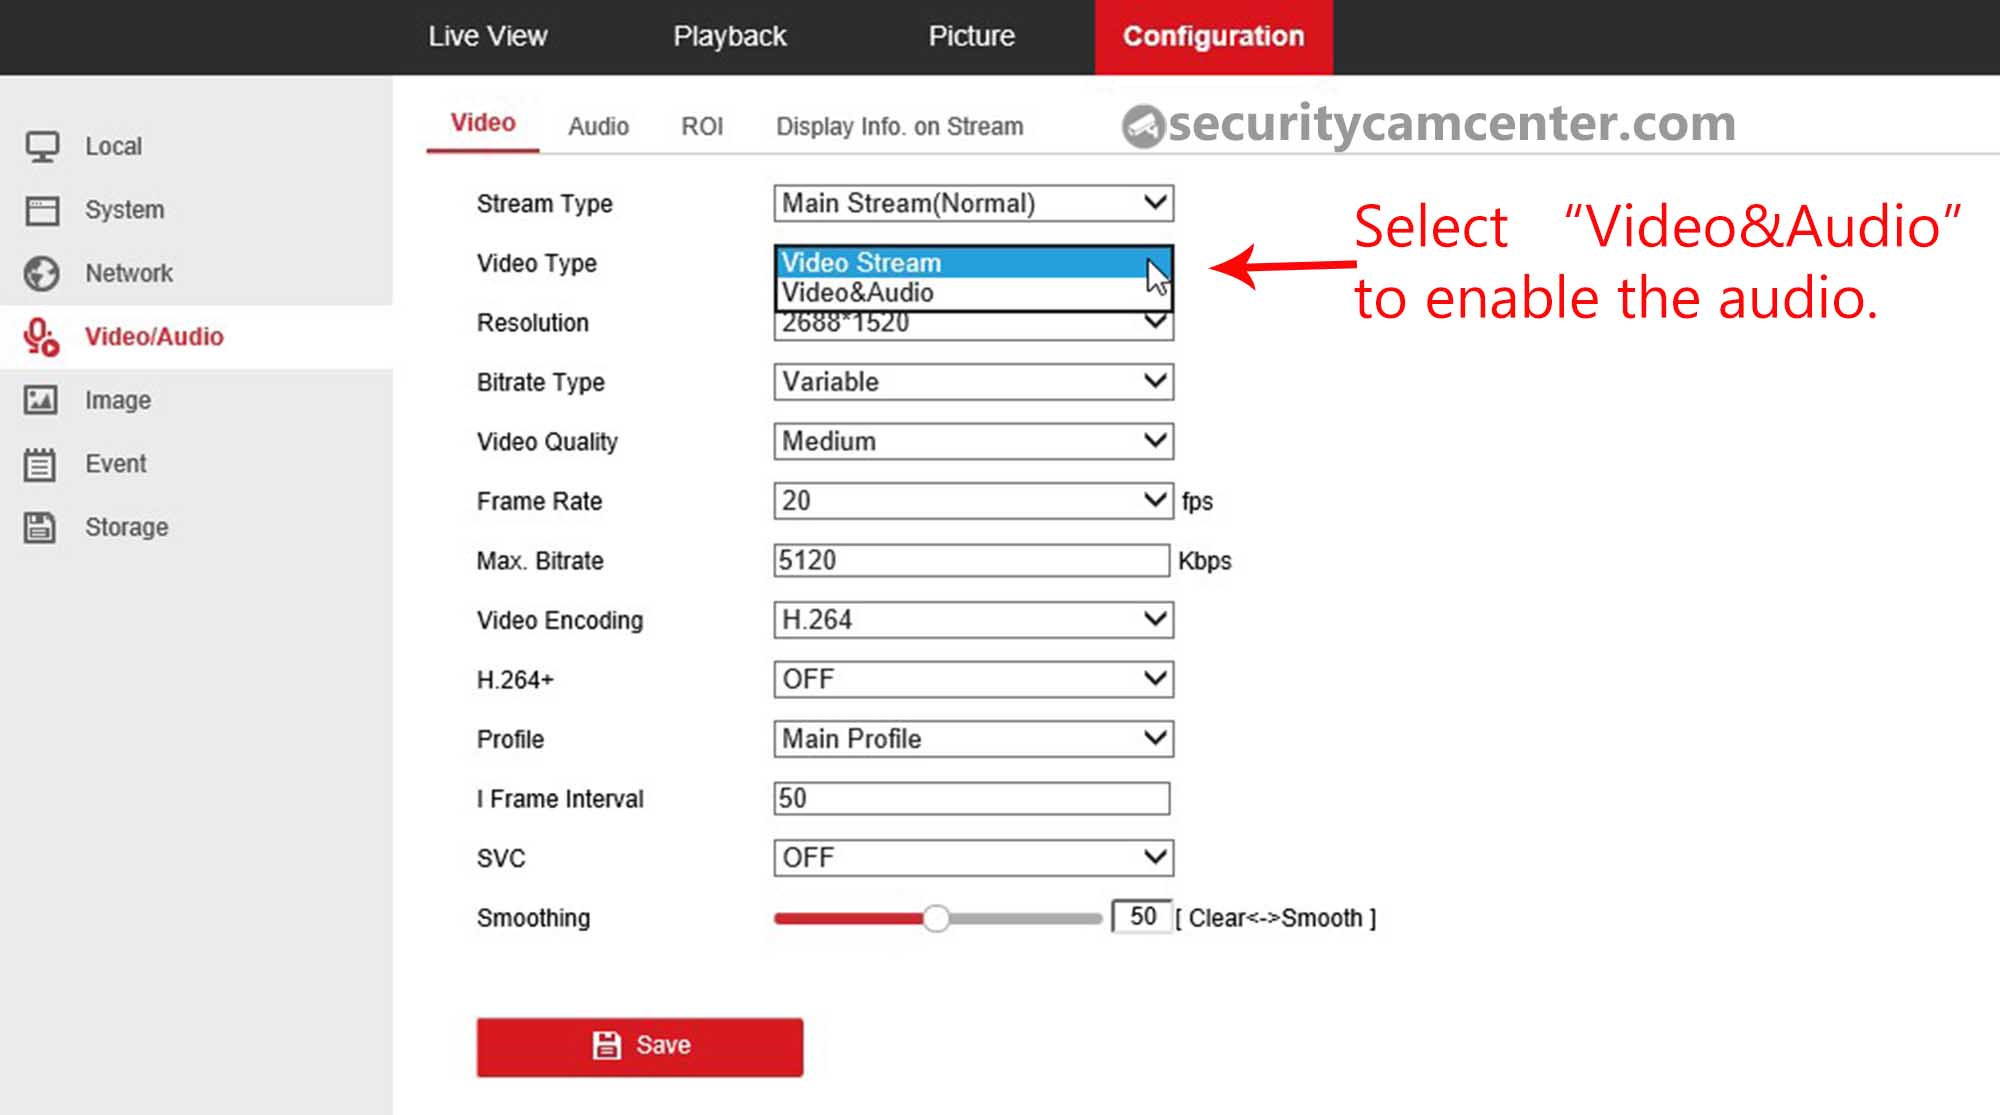
The Video/Audio menu is where you can set video and audio options. In the first tab, Video, you can set the resolution, frame rate, compression, i-frame, and such. By default the audio is disabled on the camera, so you need to set the video type to Video&Audio for both Main Steam and Sub Stream.
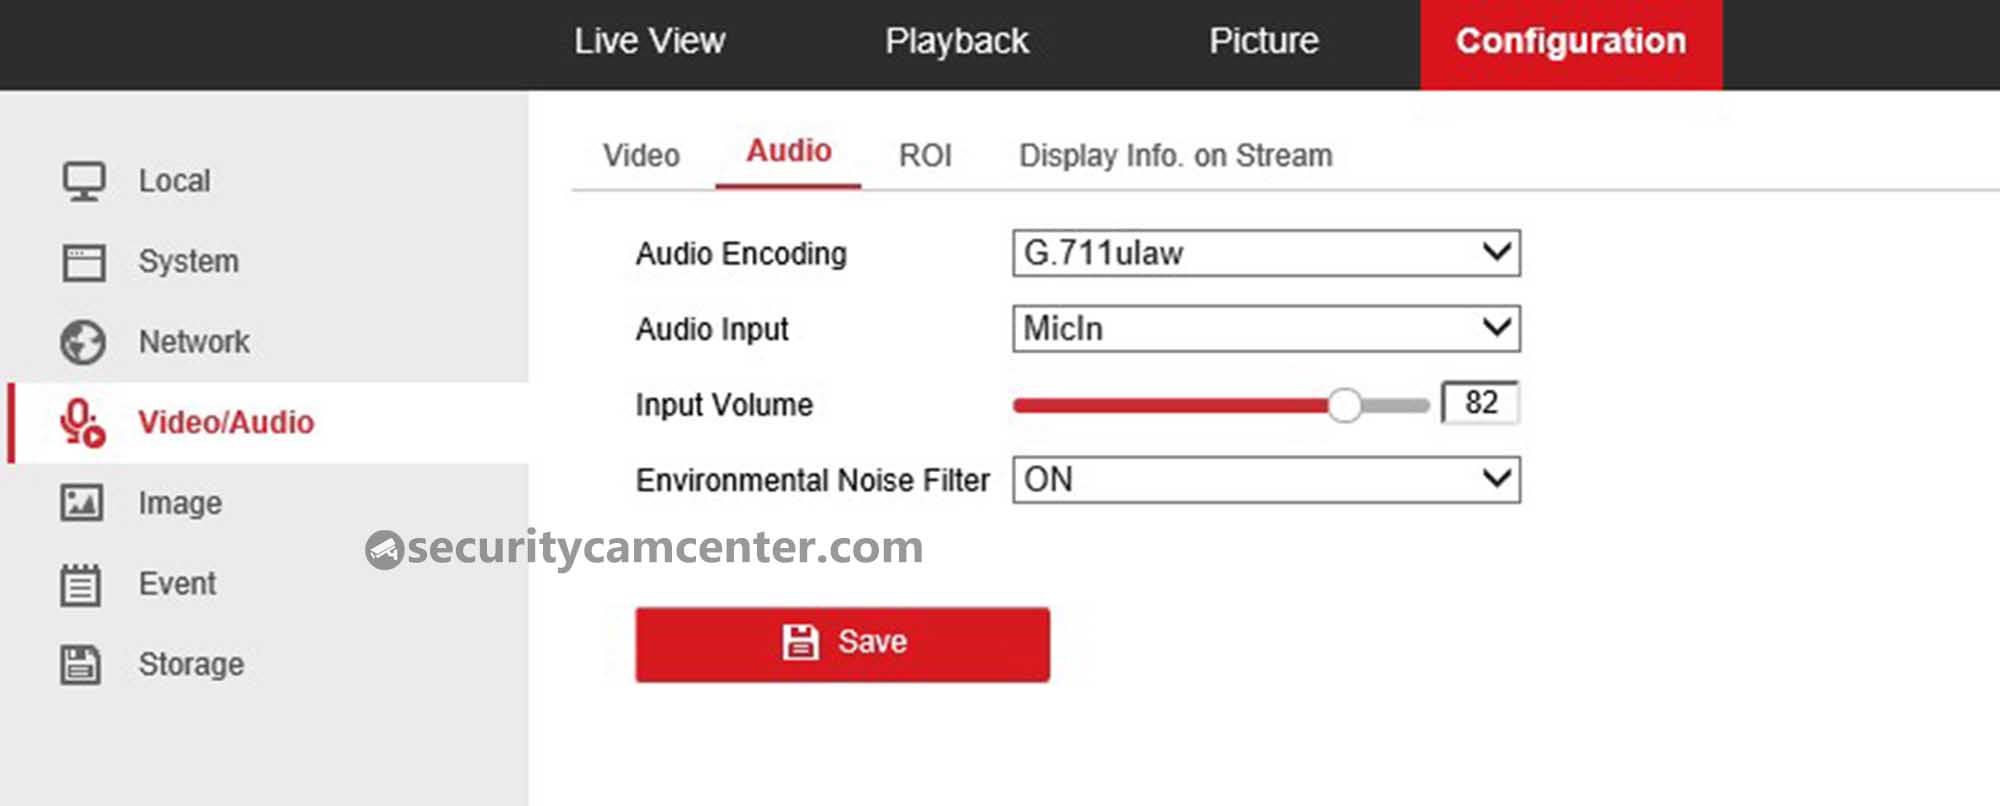
The Audio tab shows your options for the microphone and encoding choices. Most important is the volume. Set it fairly high to get the sensitivity you want. If needed, you may enable an environmental noise filter.
You control the image options in the Image menu option. The first one is Image Adjustments and lets you set the brightness and contrast and such. Indoors, if you have some high contrast, like a bright window area, you have two choices.
If the window overwhelms the image and makes it seem dark, consider using the Backlight Settings where you can use backlight compensation (BLC) or wide dynamic range (WDR) to adjust the picture to your liking.
In the Video Adjustments category, you can set the video standard to the country you are in, 50Hz for most of the world, 60Hz in the USA. This is where you would use mirroring to flip the image upside down if you need to mount the camera upside down.
The rotate option is good if you have a long hallway and you want to rotate the image 90 degrees to have a portrait style layout instead of the traditional landscape mode.

Then the Events menu option is where you set how you want to record. You can use traditional Video Detection as shown below or Other Alarm for PIR motion detection.

To use the PIR motion detector that is built-in, you need to go to the “Other Alarm”, check Enable PIR Alarm, check Trigger Channel and set a schedule, and click the Save button. This is a far better way of doing motion detection than the method above.
Where you would want Video Detection is if the camera is facing out a window as PIR won’t work through glass. If you set everything up correctly, the camera should start recording video when motion is detected. You’ll know because you’ll see events denoted by red lines on the timeline of the Playback tab.
You can slide the timeline to the time you want to look at it, use the calendar on the right to select a date, and use the plus/minus signs on the right side of the timeline to adjust how much time to display at once on the timeline. Note: The SD card must be formatted in order for the camera to record.

Daytime and Nighttime picture quality
What makes this camera more unique is that it’s a day/night camera, meaning it has an IR cut filter to change to IR mode at night and has a bright IR LED that provides nearly invisible lighting indoors as you’ll see later.
During the daytime, the 4 MP image sensor produces detailed images with good dynamic range, and the 4mm lens gives a wide-angle of view, though there is a certain amount of barrel distortion that is fairly typical of wide-angle lenses. As you can watch on the video below the picture is pretty good.
In low light, the image does become noticeably noisier, but not excessively so, and below a certain threshold, the built-in infrared (IR) LED kicks in, providing a good amount of illumination.
The images under IR illumination are surprisingly sharp and clear. The IR LED allows the camera to produce clear images at night from up to 33′ away (10 meters). You can check the picture quality below.
Conclusion
This Hikvision 4MP cube camera is a good choice for general indoor usage in a home or business setting. The camera is easy to place anywhere indoors without a lot of installation effort. It has a lot of features in a small package. It has good clarity, good low light performance, good color accuracy.
Some other pluses of this camera: reasonable price, WiFi & PoE (making it good as a nanny camera), 2-way audio (mic and speaker built-in), 4 MP resolution that can be downgraded to 3MP, 1080p or even 702p, supports SD card, so you basically can use the camera as a recorder as well. If you’re looking for a complete CCTV system, check our recommend Best IP Camera Systems.


These really are great cams. I have 2 that I bought used from ebay. Both work well but one has Chinese language and not English. I can log into it and manage it via using google chrome and having it translate the Chinese to English. The big thing for me, with these cams is they have mics, the mics are super sensitive, I can hear my neighbors talking in their yard 150 ft away or cars drive up and turn into my driveway 800 ft away. I have not been able to find other cams that work with my Hikvision NVR with sound. Sound is important as I can hear people drive up or hear my dogs barking and then turn to look at the screen to see what is going on. I have been using my 2 cams outside for the last few months with no issues having them mounted under eves. I am going to move them into flood light housings so that should protect them better. Not yet sure how I am going to get the mics working, might drill a hole through the front glass or extend the mic wires and mount it on the exterior. Any way, great cams that work well. I have looked at the entire Hikvision line of cams for sealed outside cams with sound and there are no affordable ones! WTF Hikvision?