This article will list all the equipment you need for an IP home surveillance system running 4 to 8 cameras. For this system, I’d recommend using a 4 or 8 channel network video recorder (NVR) with a built-in PoE switch and 4 to 8 cameras for indoor and outdoor use.
This surveillance system can be remotely accessed via phone or tablet for live view or even playback. The most difficult part of this project is running the wire and mounting/angling the cameras properly.
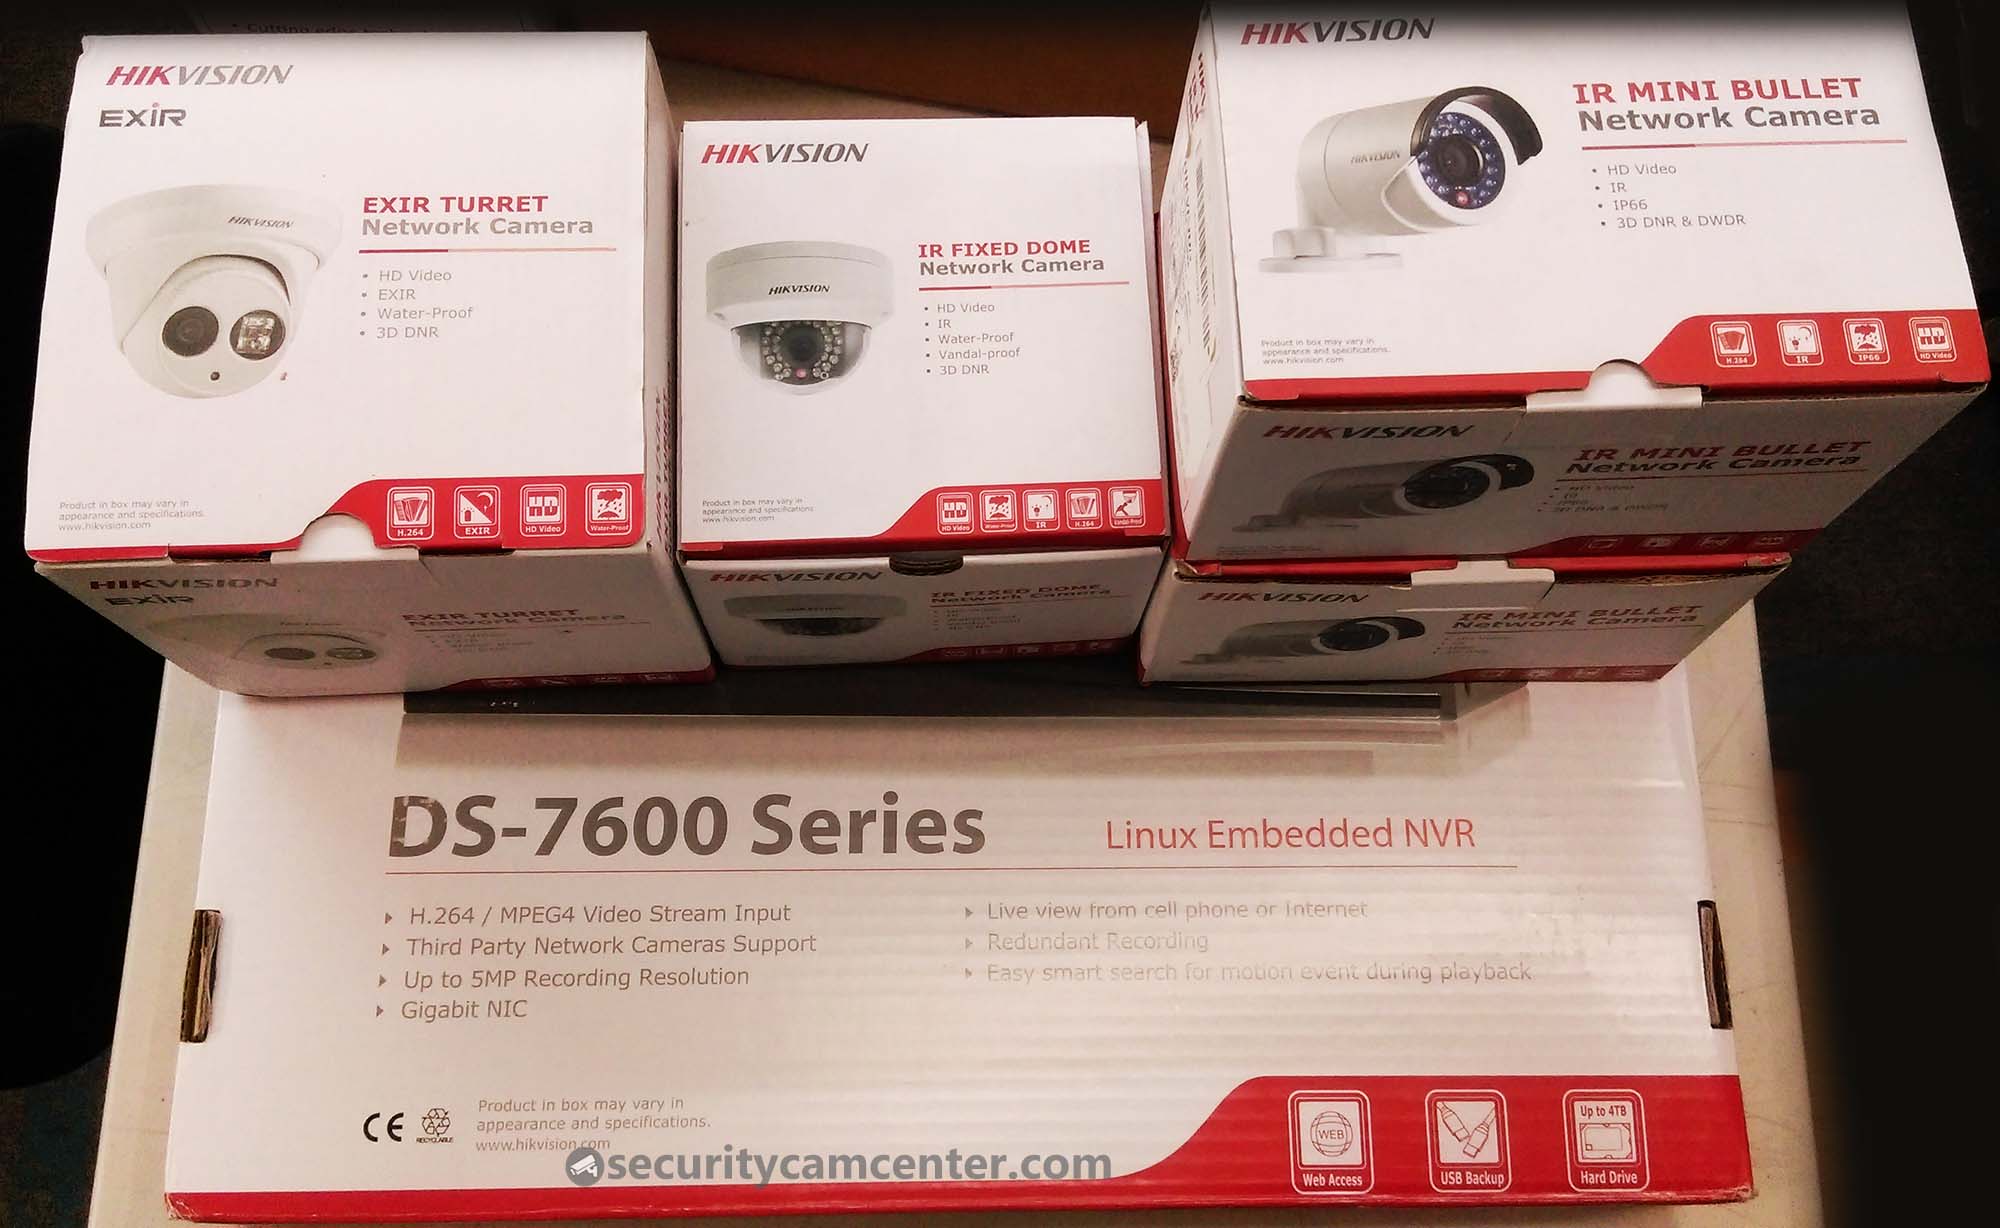
Hikvision IP Home Security Surveillance System with 4-8 cameras
The equipment you need
Recorder (NVR)
A 4/8 channel Network Video Recorder with 4/8 built-in PoE ports switch. For this project, we will use a Hikvision NVR which is compatible and works properly with the selected cameras. From my experience, this recorder is very reliable and easy to use.
The search function, the playback, and generally the configuration sections are very intuitive. Moreover, the recorder and the cameras are the same brands, which means the system will be plug-and-play, hence easy to be implemented. The recorder has HDMI and VGA output.
If any of the cameras have audio, you need to use the HDMI in order to transmit the audio to the monitor.

Hard Drives
The 4 channel NVR supports one-piece of the hard drive up to 4TB each, the 8 channel NVR takes 2 hard drives up to the 4TB each. The size of the hard drive depends on how long you want to record. You’ll save a lot of space if you set the system to record on motion detection and if you exclude parts of the picture (like a tree) that unnecessarily trigger the motion.
The max framerate for the 4MP resolution is 20fps (don’t go lower than 15fps otherwise the picture will get choppy) and the bitrate 4096 Kbps. Depending on the motion the cameras will get for the 4 cameras you can have 15 days of recording, for 8 cameras approximately 10 days of footage.
We recommend using CCTV rated hard drives. Technically you can use any regular hard drive, however, those hard drives have a shorter lifespan and in the long run, they might damage the recorder.
IP Cameras
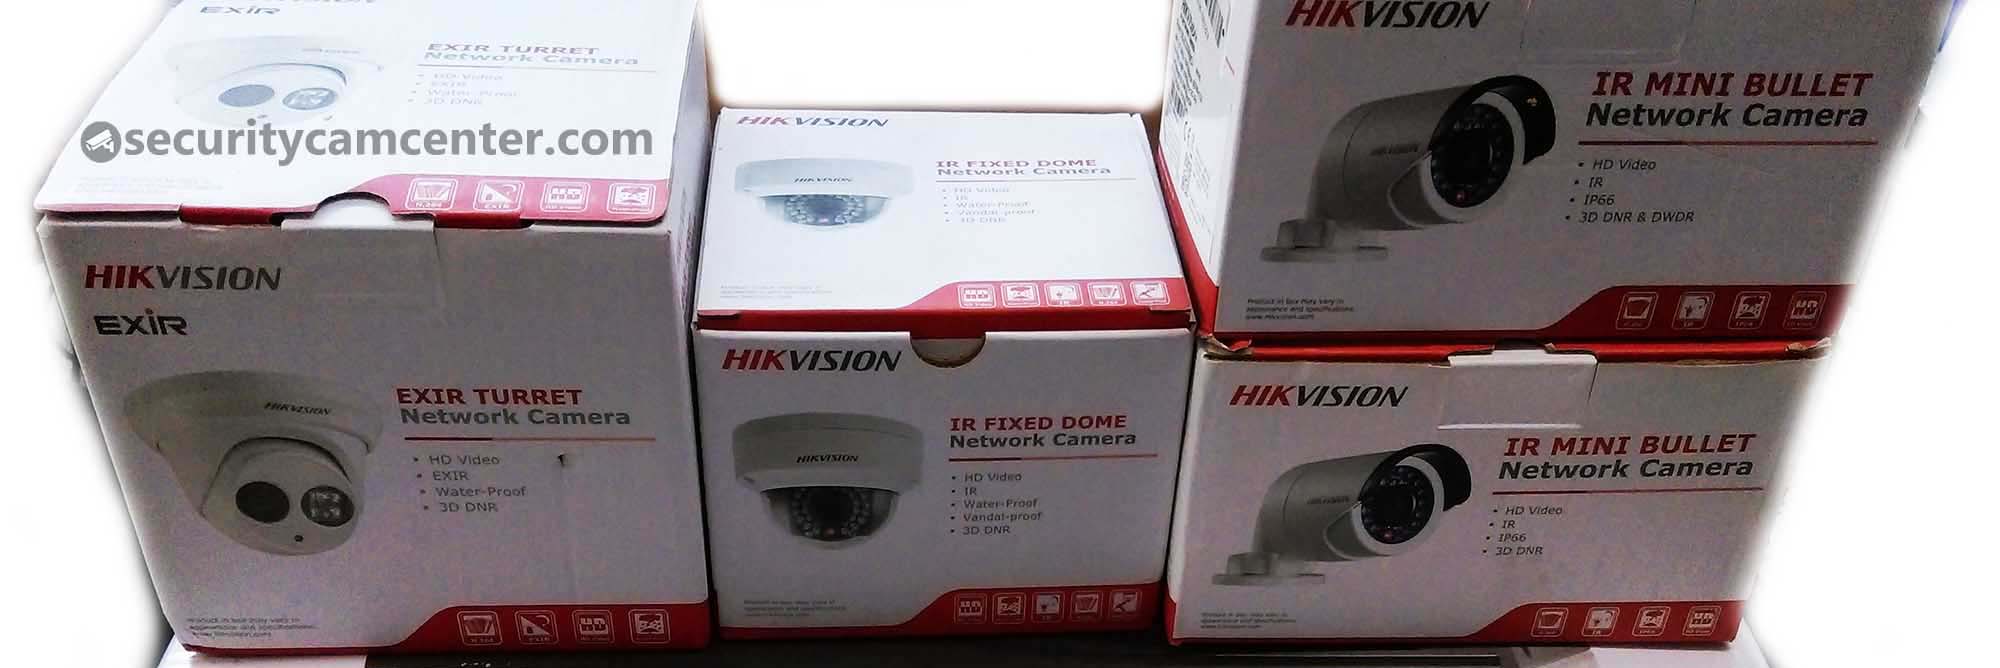
4 or 8 IP camera 4MP, dome (DS-2CD2142FWD-IS) or bullet (DS-2CD2042WD-I ) or turret (DS-2CD2342WD-I). All the cameras listed here have an exceptional daytime picture quality: clear, colorful, and sharp.
During night-time conditions, the turret is a little bit better compared to the dome and bullet (which are the same level). However, for regular houses with normal street lights, all three cameras are a good choice for night vision.
Depending on your preference you can select from three shapes: small bullet, full-dome, and turret style. Usually, the full-dome or turret is less noticeable, but the bullet shape might be a good deterrent. Regarding the lens size: use 2.8mm (wide-angle) or 4mm (narrow-angle). Read the reviews for these cameras to get a better idea of their features.
Ethernet cables
Ethernet cable (premade or roll of wire). Depending on the run you can use premade cat5e or cat6 cables. Or you can get a box of wire (500ft or 1000ft) and terminate the cables yourself.
Make sure to terminate them correctly! If your wires are going be exposed to the elements, make sure to get a cable rated for outdoor use. To prevent anyone from cutting the cable, thus cutting the video feed, you can use pipe (plastic or metal). The cable run should not be more than 300ft.
Monitor/TV
Extra: Monitor for local live view. You can hook up a monitor to the recorder using an HDMI cable. Or you can hook it up to your TV and when necessary switch the input signal to the recorder. Technically it’s not necessary to have a monitor, you can control your security system via your computer or the CMS software that is included in the package. However, if you have a monitor it’s way more convenient and easy to live view/playback.
Table and cost
| Recorder | Camera (4MP) | Hard Drive | Price range |
| 4 channel: DS-7604NI-E1/4P | Mini Bullet: DS-2CD2042WD-I (Review) Full Dome: DS-2CD2142FWD-IS (Review) Turret: DS-2CD2342WD-I (Review) |
WD Purple 2TB | $600-$700 |
| 8 channel: DS-7608NI-E2/8P | Mini Bullet: DS-2CD2042WD-I (Review) Full Dome: DS-2CD2142FWD-IS (Review) Turret: DS-2CD2342WD-I (Review) |
WD Purple 2TB | $1100-$1200 |
Setting up the surveillance system
Step 1: Install the hard drive
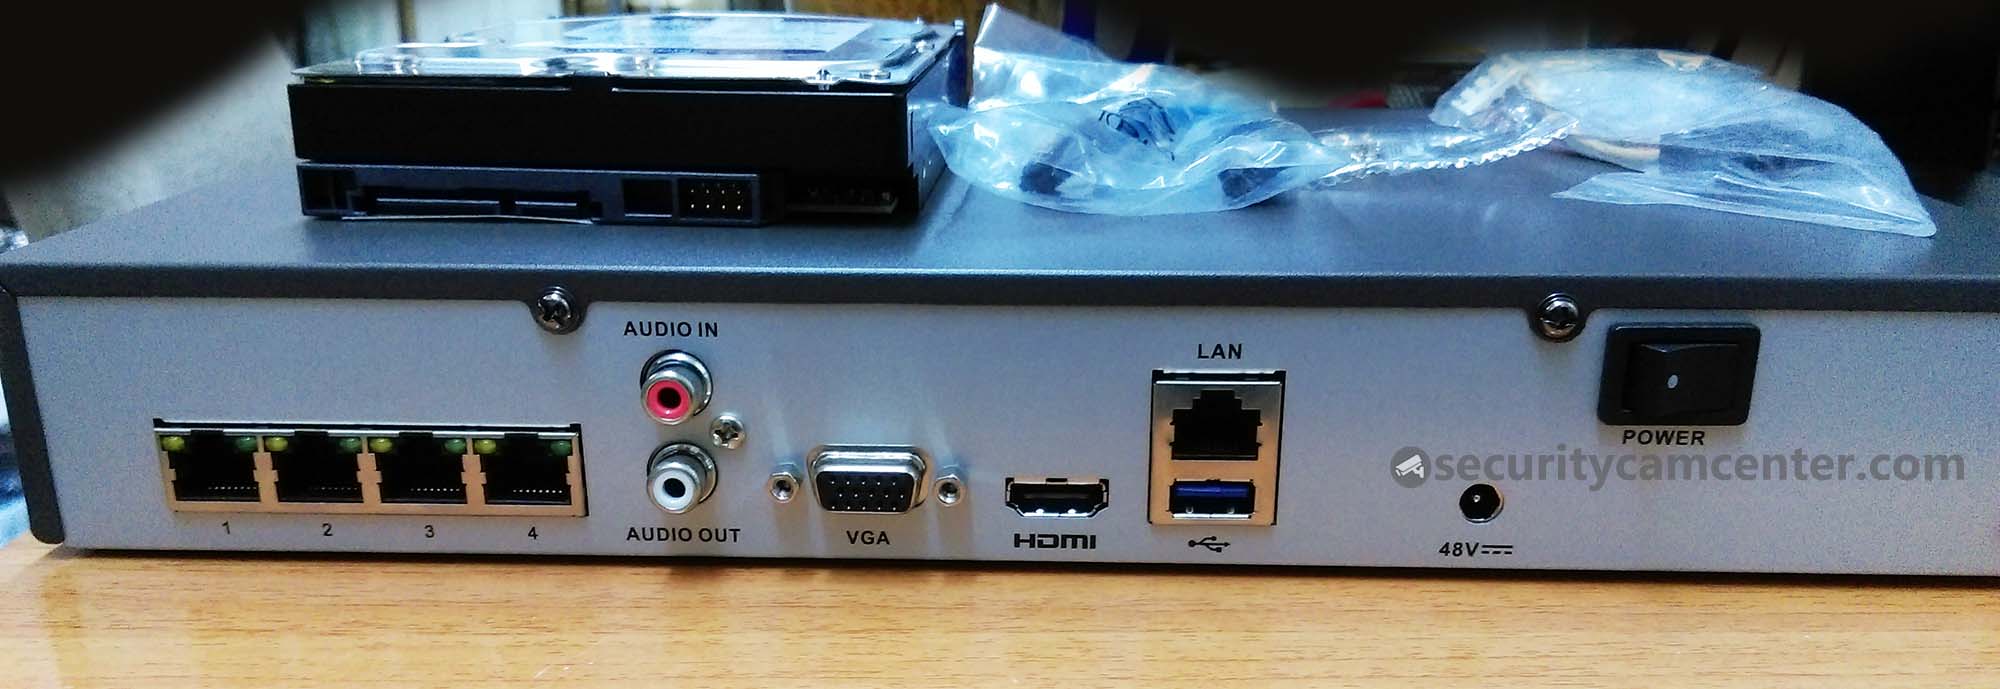
On the accessories box that comes with the recorder, you will find the power cable for the hard drive, data cable (SATA cable), and the screws. Open up the cover of the recorder and install the hard drive.


Step 2: Preparing the recorder
At the back of the NVR connect the power cord, the internet Ethernet cable, mouse, and the monitor.
Turn on the recorder and follow through with the wizard). By default the recorder is inactive, so you need to set a password to activate it. Make sure not to forget the password. You can export the GUID file for a future password reset. The software allows you to create an unlocking pattern for easy access.

Follow the basic configuration through the wizard. Uncheck the start-up wizard so it doesn’t show up next time the recorder reboots.

Set the correct time and date. This is a very important step, otherwise, your footage will have incorrect time/date info. Set your timezone. For New York: -05:00.

In this window, you can set the IP of the recorder. Make sure it matches your network and it’s not used by other devices in your network. Our recommendation is to set the IP static.
Here’s a quick trick you can use, check DHCP (meaning the NVR will get its own IP in accordance with the network). Then disable the DHCP, this way the IP will be static and at the same time all the info will be filled automatically and correctly.

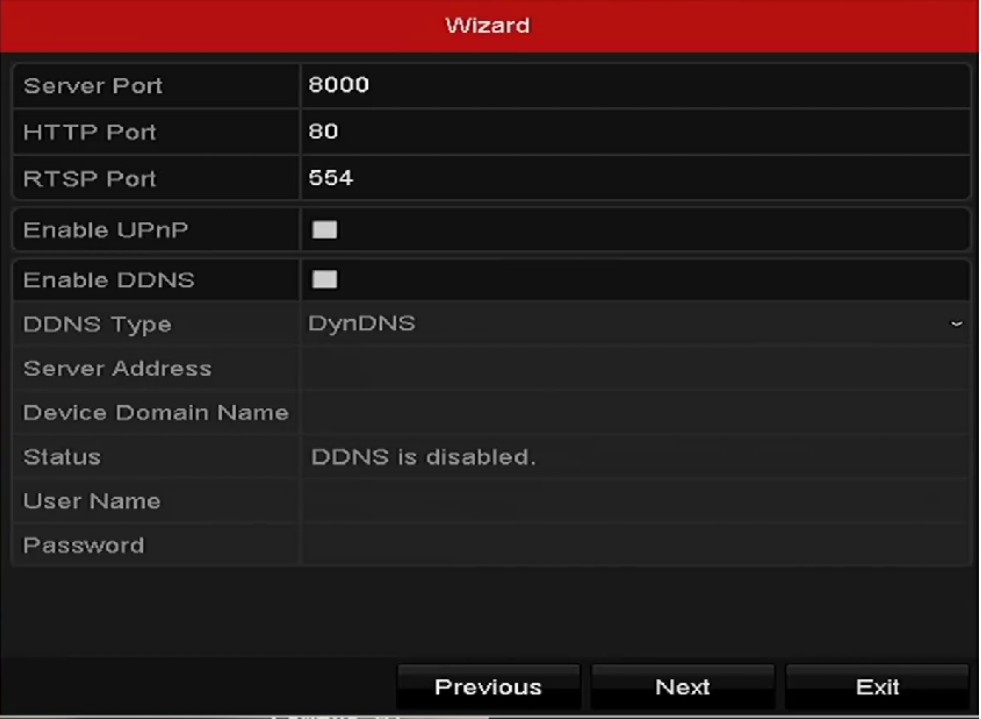
This is the port section of the wizard. The server port (8000) is the port used when the system is accessed remotely via phone or the CMS software (iVMS-4200). The HTTP port is the port used when the system is accessed via a web browser. Please modify port 80 to another port, for example, 82. Port 80 is generally the default HTTP port of many other devices on your network.
Initialize your hard drive, basically formatting it. You need to do this in order to record on the machine.

Skip (next) this step.
Set your register mode. Continuous means it will record 24 hours a day, all the time. Motion means will record only when there’s motion under the camera.
My suggestion is to use the motion detection feature, this way you will save more hard drive space and you’ll know exactly when something happened. This is the last window of the wizard.

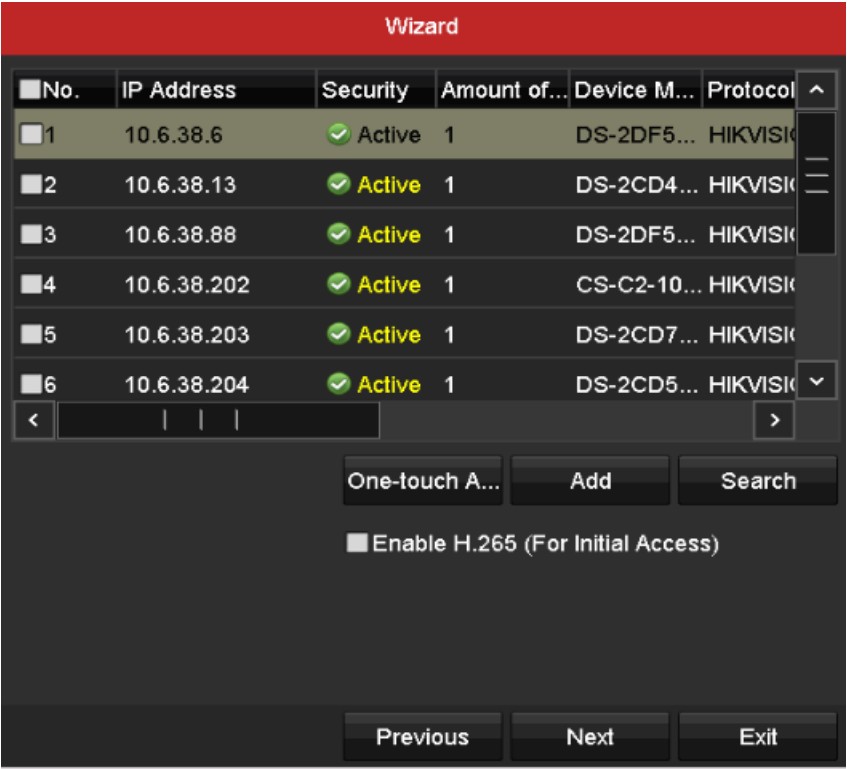
Step 3: Connecting the cameras.
Plug the first camera to port 1 at the back of the recorder. Wait till the picture shows up on the screen. Plug the rest of the cameras on by one, till you have all of them showing up on the recorder. Check out the scheme of the setup shown below.

Accessing your security system via your computer or remotely via the phone
To access the system locally via a web browser, go to IE or Mozilla Firefox ESR and type the IP of the NVR followed by the HTTP port, for example, http://192.168.1.200:82. Install and allow the plugins.
To access remotely you need to open the ports on your router: port 82 (80) and server port (8000). The app you need for your smartphone (Android, iOS): IVMS-4500 Lite. For more info check the Technical section of our website.
Conclusion
In this DIY guide, we showed the items you need to create a CCTV surveillance system using 4 to 8 IP cameras. You need a recorder, a hard drive, cameras, cables, and a monitor. Connect all of them together and configure the system, which is not very difficult. If you’re interested in CCTV kits, take a look at our Best IP Camera System guide.