Many 4 in 1 HD analog cameras such as HD-TVI, HD-CVI or AHD come equipped with a toggle switch. This toggle switch is used to access the OSD menu as well as manually control and switch between different modes on your camera.
OSD stands for On Screen Display and basically comprises the internal settings of the camera. Attached to these type of cameras are an instructional set highlighting the basic uses of the toggle switch such as switching between the signal types. This guide shows how to use the toggle and explains the menu entries and various options.
Switching modes on a 4-in1 camera
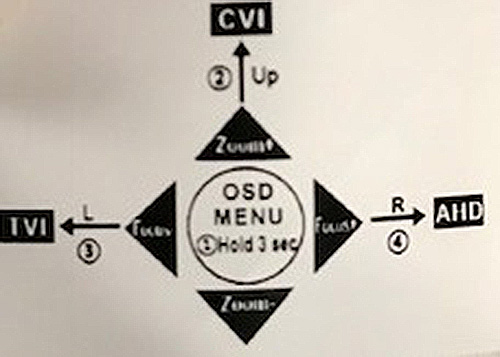
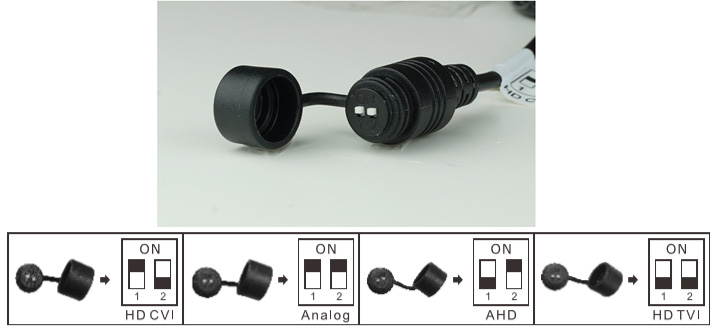
This all-in-one HD analog camera can be switched between HD-TVI, HD-CVI, AHD, and Analog modes (CVBS), depending on the device it is hooked up to, using the toggle switch.
To switch the camera to CVI mode, press and hold the menu (1) button and move the switch upward (2). To switch to TVI mode, press and hold the menu (1) and move the switch to the left (3). To switch to AHD or analog, press and hold the menu (1) button and move the switch to the right (4).
 Just make sure what kind of signal your DVR supports, let’s say it supports the TVI mode, then you switch the camera signal to TVI and the picture will show up.
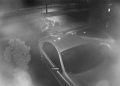
If it’s a CVI, switch the camera to the CVI mode. If there’s a signal mismatch such as a CVI camera on a TVI DVR, the picture will be black and white with huge lines rolling on the screen. If you see something like that, switch the camera to the right mode.
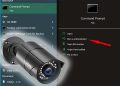
Other types of cameras may have a different kind of toggle, like the one shown below which still works on the same logic. Simply arrange the pins according to the label and you can set the camera to HD-CVI, HD-TVI, AHD, or analog
OSD Menu functions on an HD analog camera
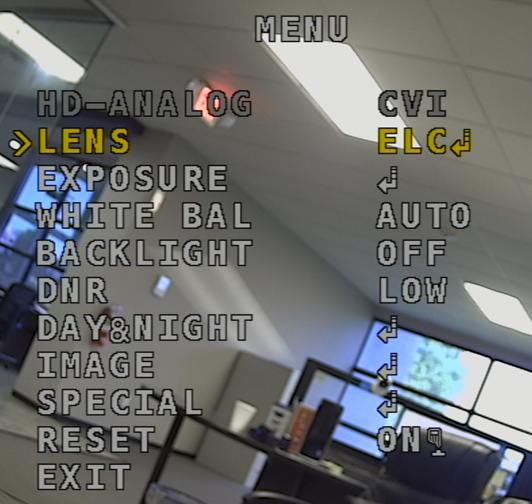
OSD stands for On-Screen Display which is an easy way to access the camera’s internal settings. To access the OSD menu for your camera, press the menu (1) button and hold for 3 seconds. The OSD menu will appear:
 Below is a brief description of each feature located in the OSD menu:
- Lens: Sets the levels and mode of the lens such as deblur and normal.
- Exposure: Sets how light or dark the image will appear. Try a few options until you’re satisfied with the picture.
- White Bal: Regulates preset color temperatures for the camera.
- Backlight: Sets backlight settings for the camera.
- DNR: Sets the noise reduction settings for the camera.
- Day & Night: Sets preset day and night delays for the camera.
- Image: Sets sharpness, color gain, and display output settings for the camera.
- Special: Controls system settings related to display output, color space CVBS, etc. Sets privacy settings, motion detection, shading, color bards, and lens adjustments.
- Return: Allows the user to exit the OSD menu or return to previous screens.
Use the toggle switch to navigate the OSD menu. The up and down directions toggle the on-screen arrow up and down.
To select a menu, press the center menu button. To select or adjust an option in the menu, use the left and right directions on the toggle switch.