There’s an easy way to access your Swann DVR or NVR on a computer via the HomeSafe View software. You can add your security system to the software and view your security cameras locally or remotely from your PC/laptop.
Using the HomeSafe View software you can watch live your cameras, playback the recordings, download any footage, manage your settings and cameras, etc.
Before you start, make sure you have downloaded and installed the HomeSafe View software on your computer or laptop.
Also, you need to have your DVR’s information such as username and password. You can add the DVR to the software if you’re on the same network or even remotely (not in the location). Follow the steps below.
How to view Swann cameras on PC
Adding a Swann DVR to the HomeSafe View software
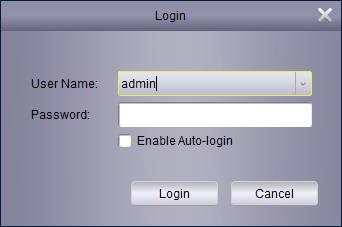
Step 1. Open HomeSafe View software on your computer. You’ll see the login screen. If it asks you to log in, just click on Login and type in the password you set for the software.
If you didn’t set anything, the default password is blank (empty). So just leave it empty and log in. Note: this is the password to login into the HomeSafe View software, for the software itself, it’s not the password of your Swann DVR or NVR.
 Step 2. Under the Control Panel, click Group Device Management. If you can’t locate this button, go to Tool > Group Device Management at the top instead.
If the computer you are using is on the same network where the Swann DVR is, you can click on Add Online Device and you should see a similar window below.
(Note: If the computer is not on the same network, refer to the next section of this article)
 Select the DVR by clicking it then Add Selected Device. After doing so, type in a Device Name and the User Name and Password you set at the initial boot-up of the DVR.
So, here you have to enter the username/password. Once you are done, click on Add and proceed to Importing Cameras (read next section)

The computer is not on the same network
If the computer is not on the same network, click on Add Device and you should see the window below.
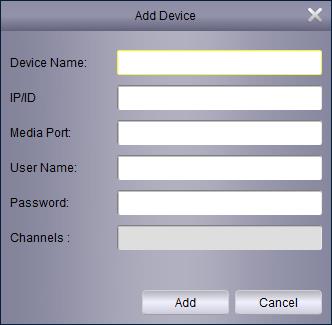 Enter the information needed. It should look something like this:
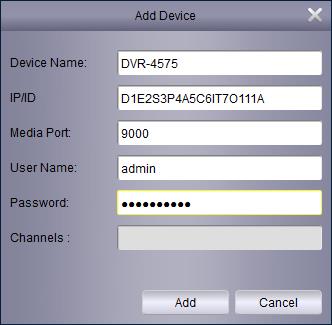 Once you are done, click on Add and proceed to import the cameras (next section).
Importing the Swann cameras to HomeSafe View software
Once added, the Swann DVR will now be listed on the left. Click on Import All to add all cameras to the right with the Group name of DefaultGroup. Should look something similar to the picture below.
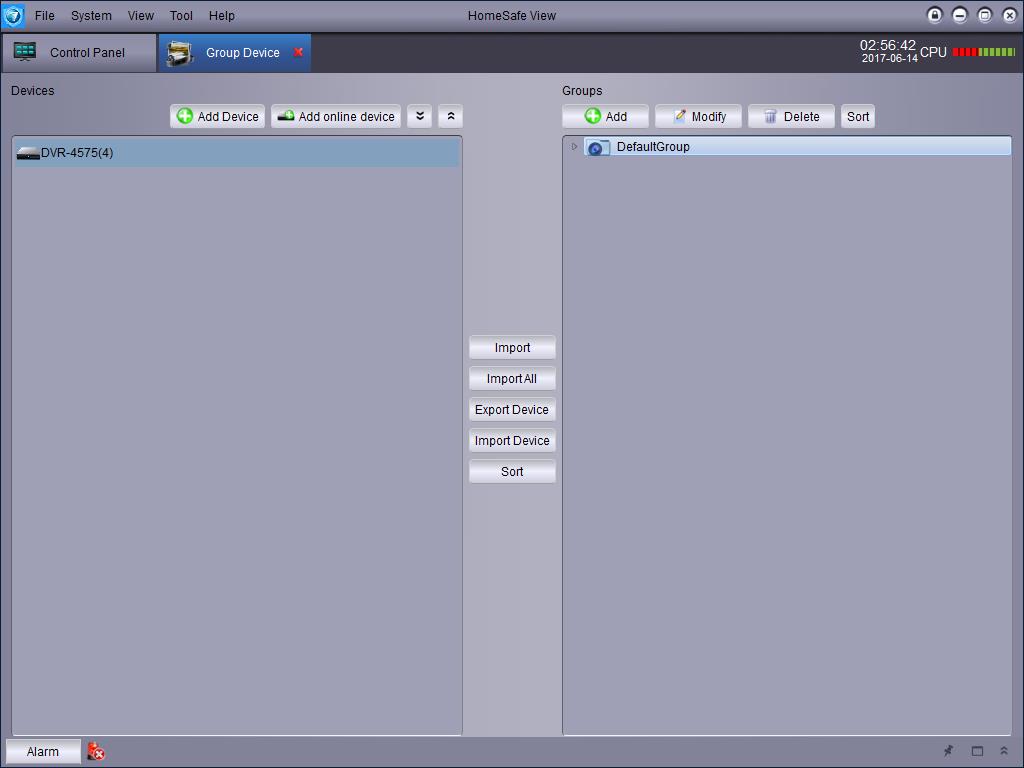 As you can see, in our example we have the DVR added (DVR model DVR-4575) and 4 cameras listed.
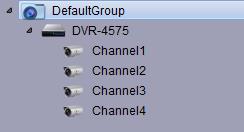 Note: You can click the triangle icon beside DefaultGroup to expand.
How to view the cameras on HomeSafe View software
To view the cameras, you need to go to Main View. To do so, go back to the Control Panel > Main View. Just click and drag DefaultGroup to the right to load all of the channels.
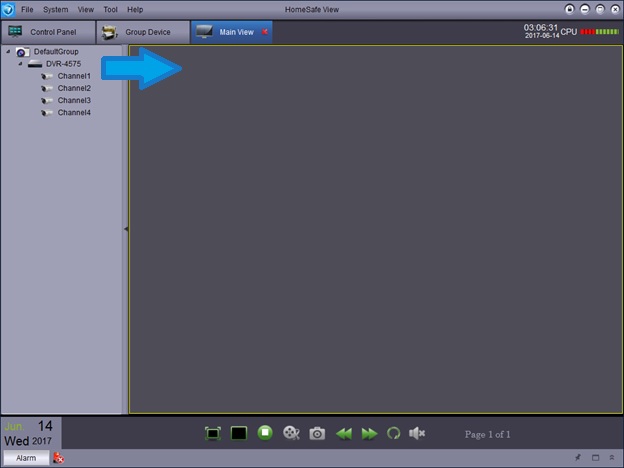 You can open up any camera you want and you’ll be able to see the live view. If you are operating multiple DVRs and only want to load one DVR at a time, expand the DefaultGroup and only drag the required DVR.

Homesafe View for PC has a major security flaw.
It places a file named RSNet.txt in the root of a secondary drive (Drive D:) and probably Drive C: if no secondary drive.
This file is in plain text and contains User, Password, IP, and Port.
The file can be read by anyone who has access to the drive.
I contacted the Swann but the support person was clueless and just said “So what is the problem I can help you with?”
Homesafe View for PC placed RSNet.txt and RSNet.txt.P2PLog.txt in the root of a USB drive that was plugged in to a PC that I had used to remotely check my cameras. If that USB drive had belonged to a third party, they would have had access to my personal info thanks to Swann.
This isn’t really a solution, as Swann don’t want to update their buggy software, but here’s a way to stop that file from growing and containing sensitive information. When HomeSafe View is closed, edit the RSNet.txt file and remove everything inside it. I left a nice message for myself if I happen to look at the file in the future. Save the near empty file and make it readonly. HomeSafe doesn’t appear to complain and nothing gets added to the file now. It’s not great, but it does help a little.