The Hikvision VSPlayer allows you to convert the format of your playback files from one format to another. This function is convenient if you have backed up the recordings from your Hikvision NVR, DVR or IP camera and you want to convert the original file to another video format.
For example, you could change the format of a Hikvision playback file from MP4 to MOV or to AVI or ASF. There’s no need to use other software or players. Simply use the Hikvision VSPlayer to convert your footage to any format you need.
Apart from Hikvision devices, you can convert the files from any other NVR/DVR brands as well. The VSPlayer is not locked for HIkvision devices only, it can be used for other manufacturers as long as the video formats match.
How to convert playback files using VSPlayer
Step 1. Install the VSPlayer software on your computer and run it. You can download the VSPlayer here.
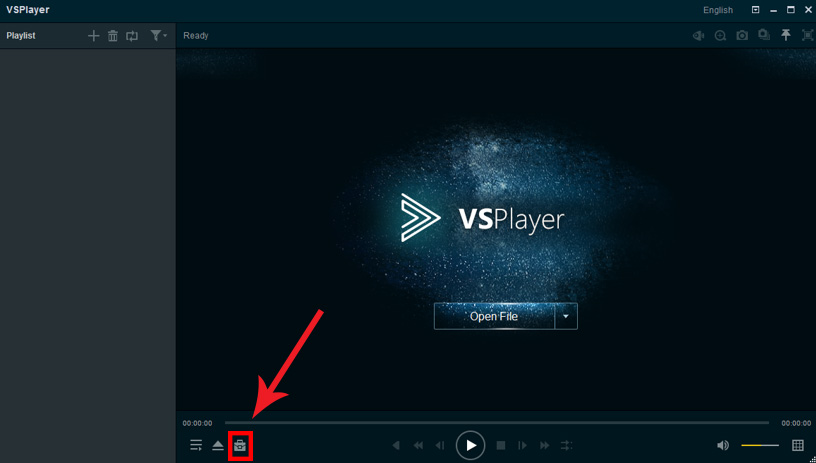
Step 2. Select the Toolbox icon (marked in red on the picture below).
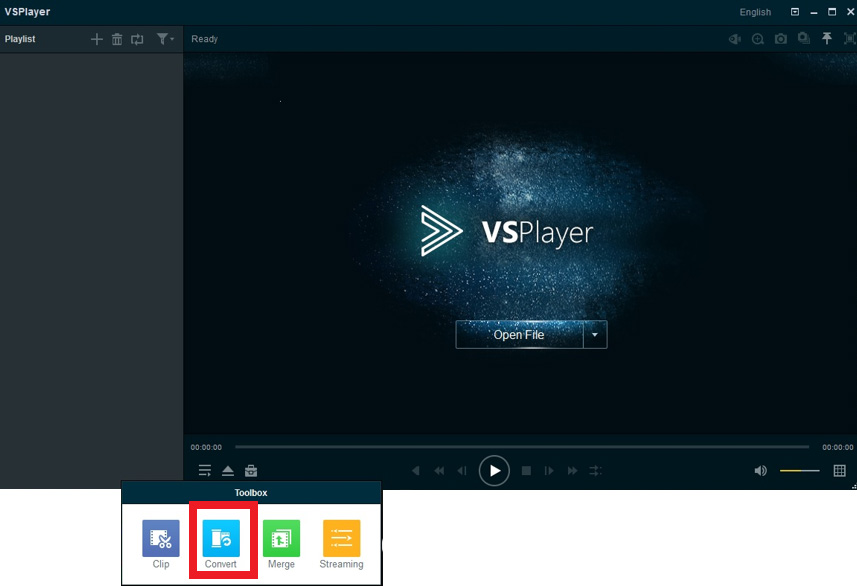
 Step 3. A few options will open up. Select the Convert icon.
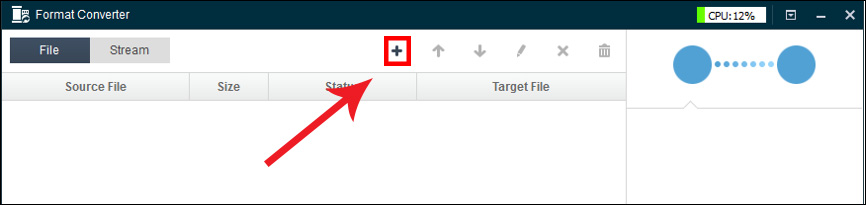
 Step 4. Select the plus add button to find and add your playback files to the format converter.
 Step 5. Select Single Add for adding playback files one at a time. You may use batch adding for adding multiple files at once. In this guide, we will add one file at a time (single add).
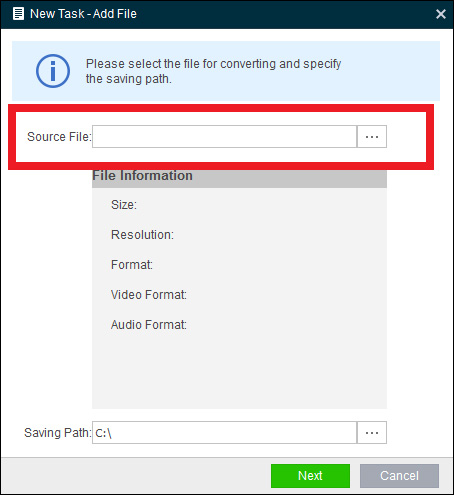
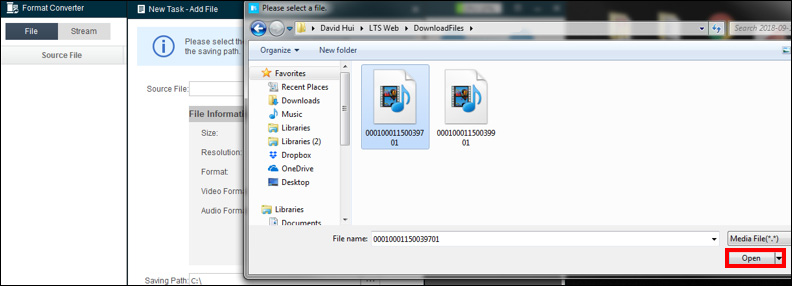
 Step 6. Find your file by selecting the browse function for Source File. Basically, you need to locate you playback file and add it to the video player.
 Step 7. Once you have selected the desired file, select Open to proceed.
 Step 8. The saving path is where the converted file will go to (which is where it will be saved). If you would like to change it, just select the browse function (three dots icon) for Saving Path and choose a new location.
 Step 9. When you have selected the location, click OK to continue.
 Step 10. You may now select the desired format you would like to convert the playback files to. Select the down arrow icon to begin your selection. Click any of the formats that you want your files converted to.
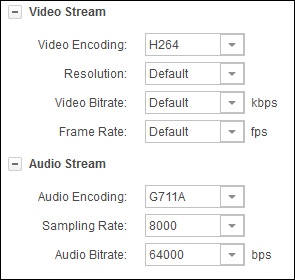
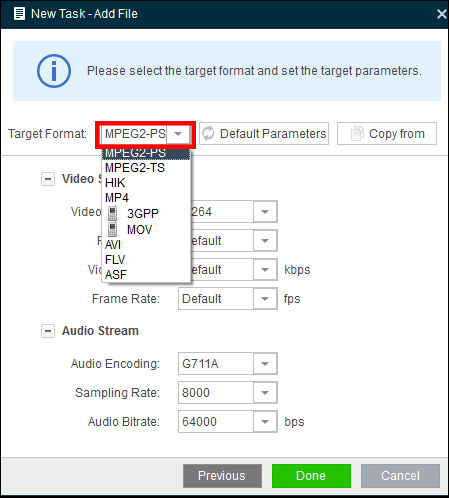 Step 11. Also, you may also adjust any of the settings under video and audio stream such as Bitrate, Frame Rate, Resolution, or Video Encoding. Select “done” when you are satisfied with your selection.
 Step 12. Select Start to begin the conversion.
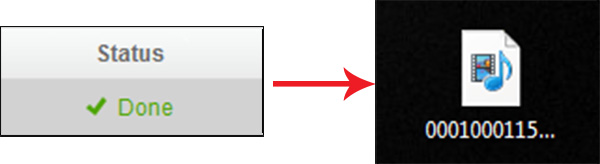
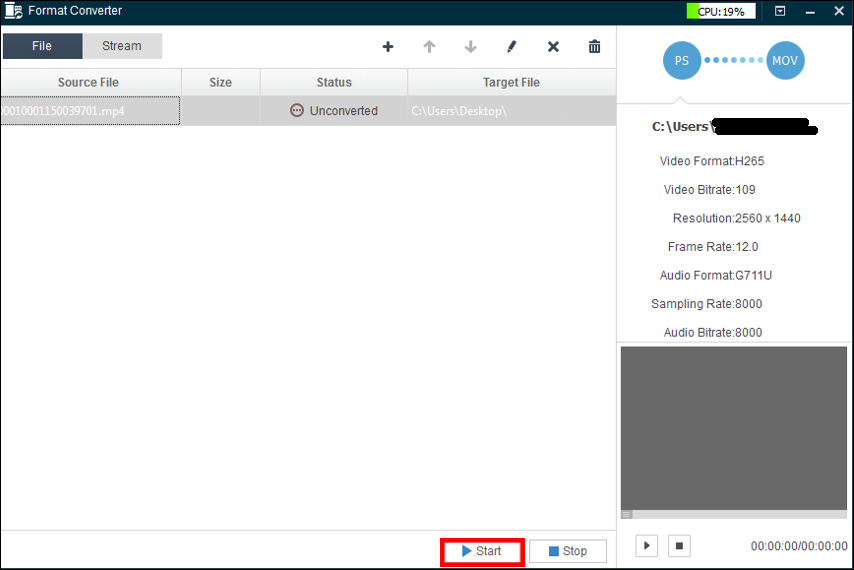 Step 14. Observe the status of your file once it begins. When the conversion is complete, you’ll see the done message on the screen. The converted file should now show up in the designated location you did choose earlier.
 This procedure is the same if you do batch conversions. Simply select the destination location, and the video format and wait until the conversion is done.
