LuxPro thermostats are very popular and allow homeowners to control the house temperature in an easy manner. However, as in any electronic device, the LuxPro thermostat may not work properly
Having a broken thermostat will cause a lot of headaches, especially if the temperatures are high or way low. Anyway, in this guide, we will show a few methods and tricks on how to fix a LuxPro thermostat unit that is not working (or it doesn’t operate the way it should).
There are four basic ways to fix a non-working LuxPro thermostat:
- Restart the system
- Reset the unit
- Clean any dust build-up
- Inspect the wiring
Luckily for you, we did the testing and all you have to do is follow the instructions. We’d recommend going through the steps as shown in the order since it’s designed to cover most of the common issues that thermostats experience.
Keep in mind, that there are various LuxPro thermostat models out there that differ in the layout, the shape, the controllers, etc; but most of the time the instructions are applicable regardless of the type of thermostat. If something is amiss, inspect the unit until you locate the right adjustments.
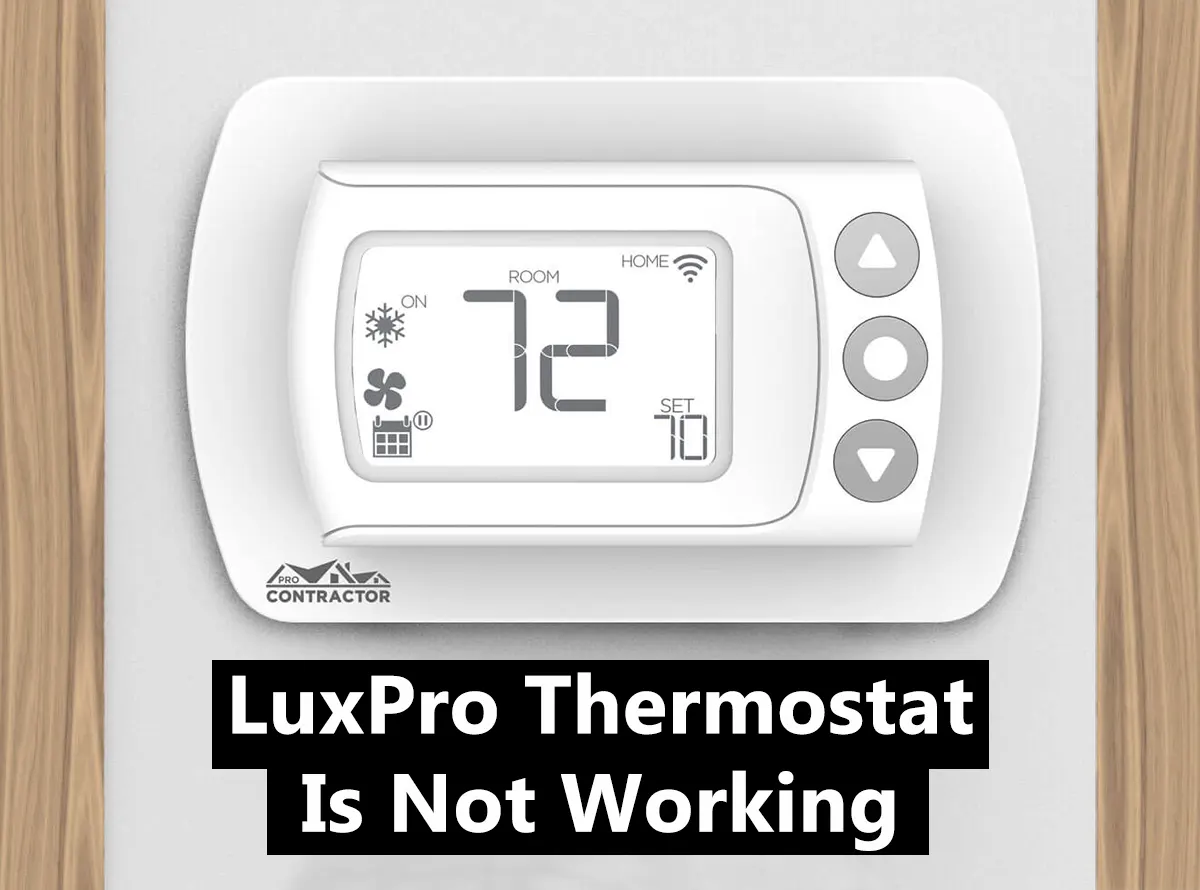
LuxPro Thermostat Is Not Working
As we said, go through the instructions in sequential order until you get the problem fixed.
Restart the LuxPro thermostat unit
The first thing you need to do is restart the LuxPro thermostat unit which will clear up most of the accumulated errors. Open up the panel and locate the power-off button. Press it down until the unit is turned off.
Let the unit powered off for at least five minutes and then power it up and wait until it’s back online. Restarting an electronic device is the oldest trick in the book that fixes many errors.
Another method you can try is removing the batteries from the thermostat. While the restart may work, taking out the batteries ensures that the unit is, in fact, completely powered off.
Let it without batteries for a few minutes, then replace them in their spots (ensure you’re inserting the batteries correctly). Wait until the unit is back on and see if it’s working correctly.
Reset the thermostat
If rebooting your LuxPro thermostat does not resolve the issue, the device is most likely unresponsive and needs a reset to default all the settings.
To reset a LuxPro thermostat unit is very easy and all you have to do is locate the Reset button which is located close to the Power button (you may need to open the cover or the panel, depending on the model).
The button should be marked “reset” and then you need to hold down the button for at least 5-15 seconds until the screen starts to flicker. If the screen doesn’t load at all, just keep the reset button pressed for half a minute and then release it.
The unit will reboot and all the settings will go back to factory default. Thus, all configurations and adjustments will be gone. The unit starts as a clean slate.
Clean the LuxPro thermostat
If you still can’t make it work by restarting and resetting, then it’s time to get “the broom” and do some cleanup. In many cases, thermostat units stop working because dirt, grime, and dust build-up are causing problems with the wiring.
Basically, dust particles may block the contacts inside the device, and eventually, it malfunctions or simply won’t connect at all.
It’s important to carefully open up the unit and inspect the inside. We’d recommend taking some pictures during the process and ensuring that everything will be sealed off the way it was.
You clean up using a soft brush such as a paintbrush in the right size. Go through the contacts and components easily and carefully until you collect all the trapped dust. Pay attention to the contacts, wiring, or even buttons.
Additionally, you may use a special type of vacuum cleaner that is designed for electronics and will suck up all the dust and dirt without exerting too much force.

Check the wiring
Next, you should inspect the wiring part of the thermostat. Inspect the wiring coming out from the unit and ensure that nothing is loose or disconnected.
Additionally, you may open up the cover and peek inside to see if anything is amiss. Ensure that the unit is properly powered.
For further troubleshooting, you may need to contact a low voltage technician or the installer who set the system up. In some cases, the seller or dealer of the system will also support the product.
Replace the batteries
As we mentioned above, you can remove the batteries and place them back as a way to restart the unit. However, in some cases, the batteries may be expired or about to. Dead batteries will cause the thermostat not to work properly.
Take the old batteries out, check the model on them and google it online. See the purchasing options and have them shipped out to your place. Once installed, reboot the unit again and see if it’s working.
Clean the brass contacts
The contacts may collect dirt and malfunction. Locate these brass contacts on the sub-base and carefully clean them up using a q-tip, pencil eraser, or a thin piece of cloth. You need to go very slowly against them to ensure that nothing will get damaged.
Also, you may need to check if the contacts are in the right position which depends on the thermostat model. We’d recommend you google your exact LuxPro thermostat model and find the manual.
Open it up and consult the section regarding the contacts, pay attention to the pictures and diagram and make sure that your contacts are at the right distance and set up.
Check the dip switches
Another thing to check is the dip switches which are located at the back of the device. Make sure the Switch1 pin is turned ON and “Electric” is selected for the fan.
Check the display screen
If you see a lock icon on the screen, it means that your thermostat’s display screen is locked and you can unlock it by tapping over the symbol. Some models have a real button on the panel with the lock icon that can be used to lock/unlock the device.

Once you do so, the Unlock Screen window will show up on the screen and you need to tap OK followed by the lock code (password). Hit again OK to finish the process.
If you don’t know your lock key, you can reset the device (as shown in the previous section) and create a new one.
Conclusion
If your LuxPro thermostat is not working, you can try to fix the problem yourself without the need of calling a professional. It may be a small thing that will save you a lot of money.
The basic troubleshooting steps include restarting the unit, resetting it, cleaning up any possible dust build-up, and inspecting the wiring for any disconnection or corrosion. Additionally, you may try to replace the batteries and adjust the dip switches.
LuxPro is known for reputable technical support and you can contact them for assistance (or you can contact the installer who did the job). Make sure to provide the device’s model, serial number, and other information that the technician may require.