This IPC-HDW4421M Dahua 4 Megapixel IP Eyeball Camera is tiny and with a low-profile design. I’m installing this camera mostly indoors and I’m very happy with the picture quality it delivers and the good responsive interface. The small size and the eyeball shape of the camera makes it perfect for indoor installation.
The IPC- HDW4421M uses a 4MP CMOS sensor displaying a maximum of 4MP at 20 fps or 3MP at 30 fps.

Review: Dahua Eyeball IP Camera
For this review, I’m using the Dahua logo camera labeled on the box DH-IPC-HDW4421M. The box is white with the Dahua logo in red color. I’ve used the OEM version of this camera (labeled IPC-HDW4421M) which comes in a brown box.
Technically both of the cameras have the same hardware and specs, the difference being the logo (the OEM has no logo on the camera). As you can imagine, the price is different for both of them, the logo one being more expensive.
For my projects, I usually use the OEM versions, since I haven’t noticed any difference between the two. This model comes in these lens sizes: 2.8 mm (angle of view: 106 degrees), 3.6 mm, the one reviewed here (angle of view: 84 degrees), and 6 mm, special order (angle of view 56 degrees).
Installation
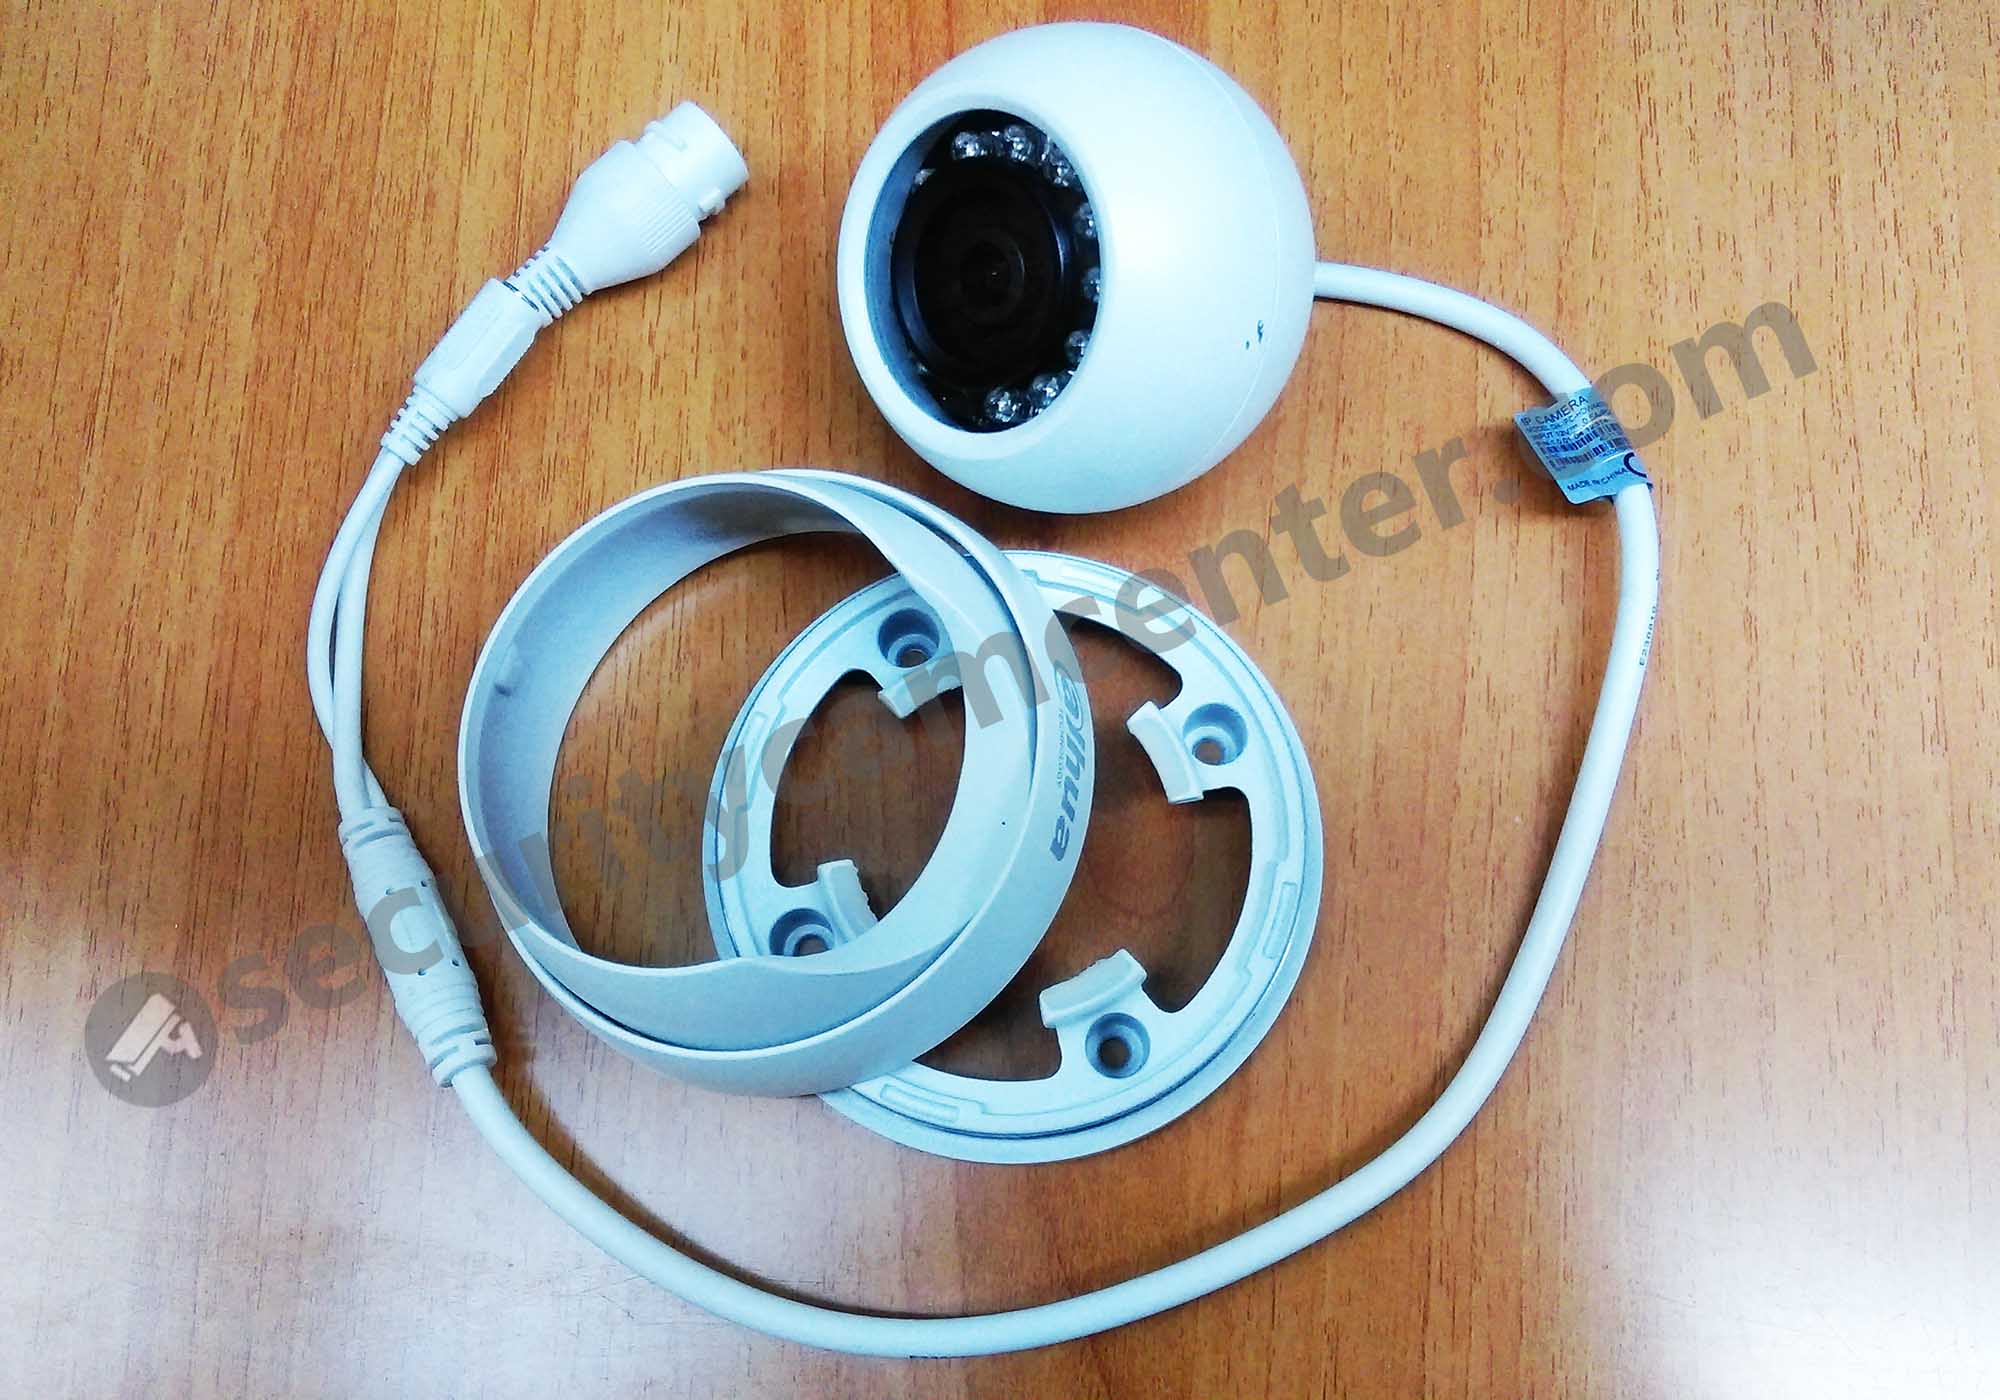
The Dahua Eyeball IP camera supports PoE or it can be powered via a power adapter as well (12V, at least 600mA). Installing this camera is an easy job, first of all, make sure the installation environment can support 3X wight of the camera (1 pound).
To make things easy use the installation map and stick it on the installation surface (ceiling, wall, etc). Generally, the installation for this camera is easy and it can be positioned in any direction (3 axes), careful not to smear the eye of the camera.

The camera doesn’t support Micro SD, which means it’s not able to work as a standalone (unless you need live view only). To store the footage you need a Network Video Recorder or a PC-based NVR (using third-party software).
From my experience, this camera works better if hooked up on a Dahua brand NVR (check Dahua NVRs). It will work on Hikvision NVR or other brands using the ONVIF protocol (however in this case it needs more manual configuration).


Configuration
First, you need to put the camera on your network. Connect your camera to your router or switch using the ethernet cable. Make sure the switch supports PoE, if not the camera needs to be powered via a power adapter (12V, 600mA).
On your laptop/computer install and run the Configtool provided by Dahua. The tool will scan the network and display the camera. Note: If the tool doesn’t list any IP camera, make sure the laptop/computer and the camera are on the same network and that the cabling is working correctly.
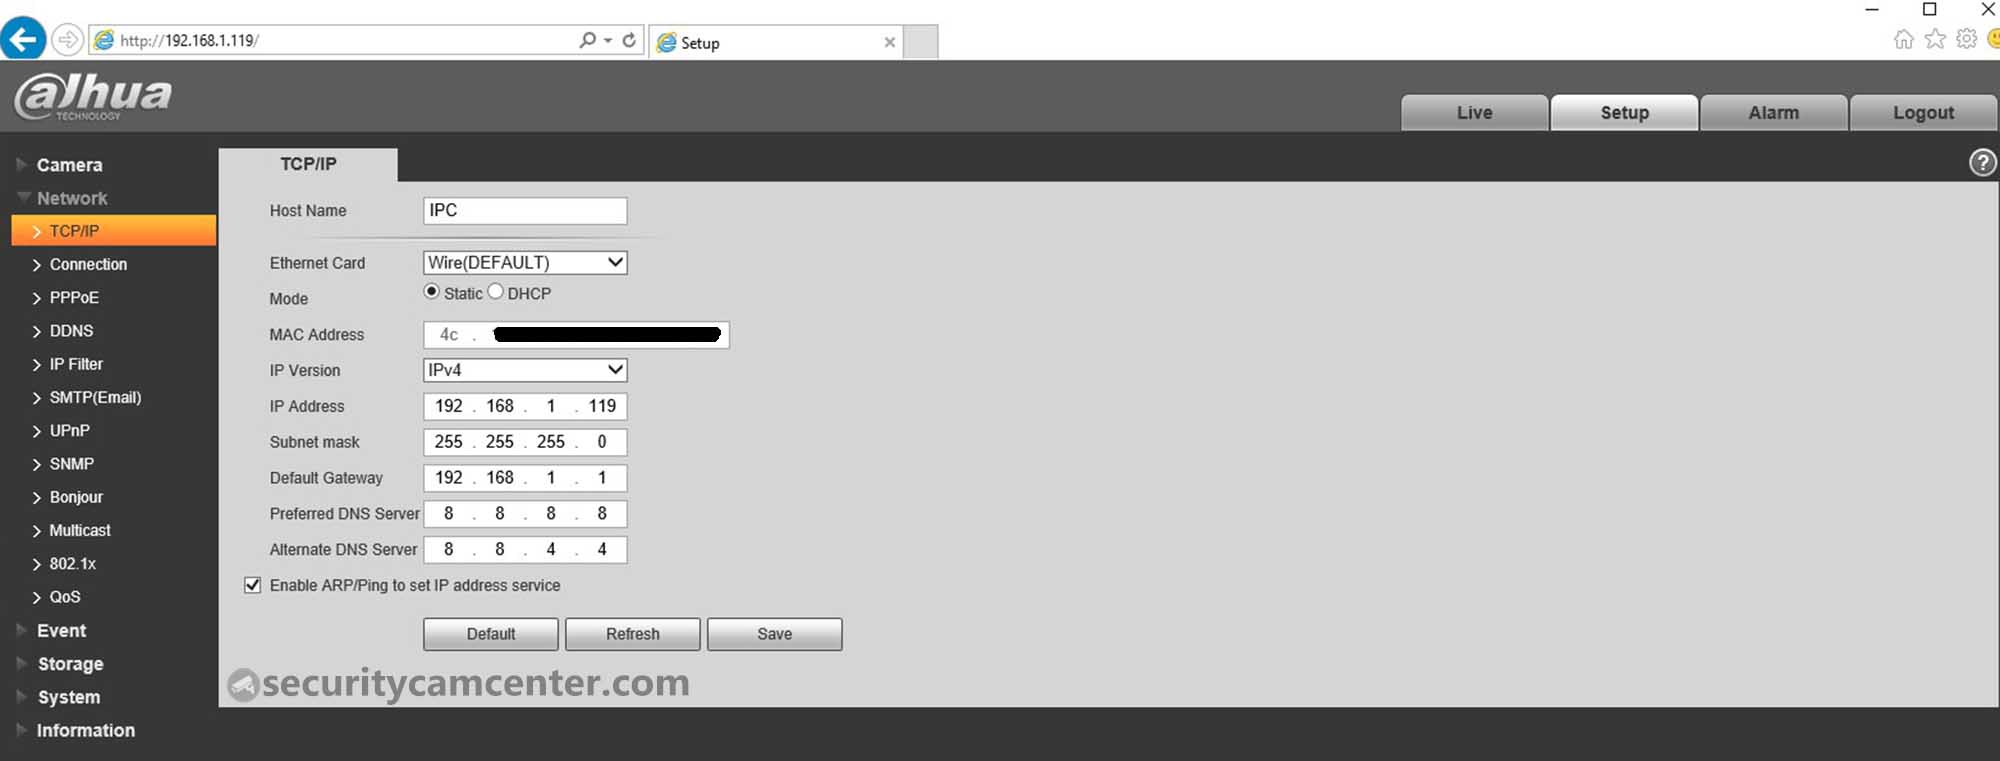
The default IP of the Dahua camera is 192.168.1.108, modify it to match your network. In this case, I set the IP of my camera to 192.168.1.119.


Use Internet Explorer or Mozilla Firefox ESR to access the camera. The web plugin needs to be installed and allowed to use all the functions. One the Liveview tab you can check the live feed and switch between the Mainstream and Substream.
To access the camera’s settings go to the Setup tab. Under the Network > TCP/IP you can check the camera’s IP address, gateway, subnet mask, and DNS server. My recommendation is to keep the IP static, so you always know what’s the IP of your device.
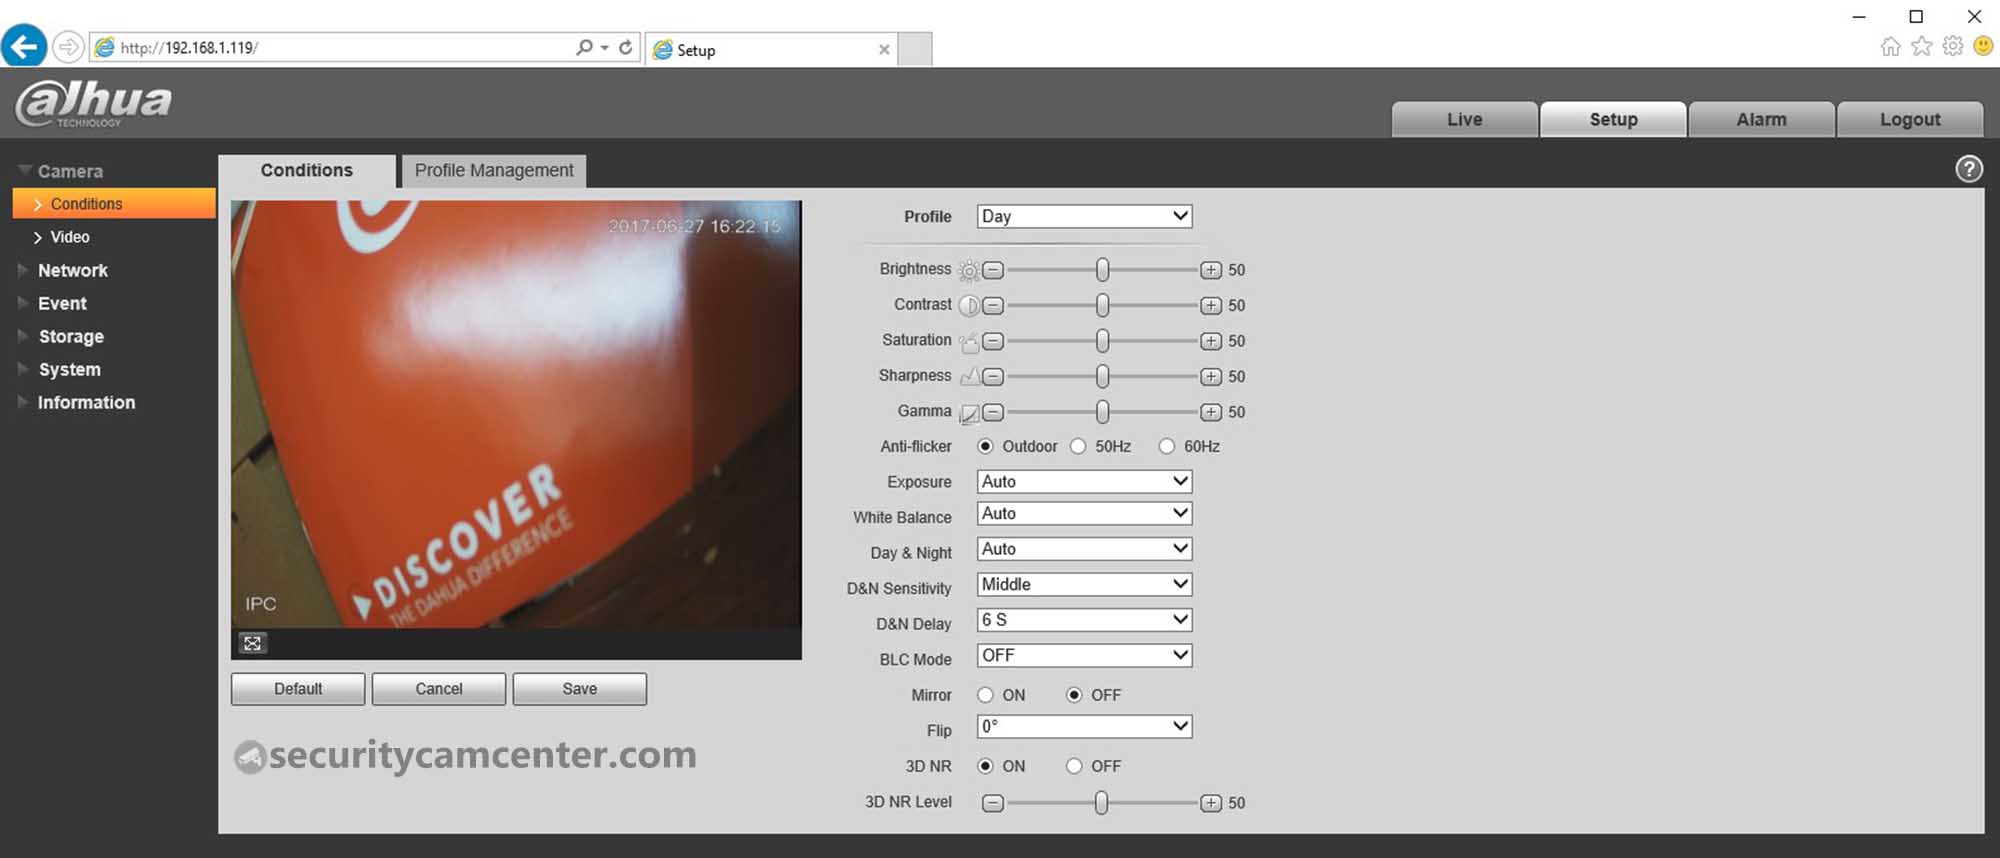
Under the Camera, on Conditions, you can adjust the image settings such as Brightness, Contrast, Sharpness. The Anti-flicker settings must be on Outdoor if the camera is going outside or 60HZ for the installations taking place in the USA (if the camera is set to 50HZ the picture may flicker).
On the Camera > Video you can modify the video settings. By default the encode mode so H.264H which uses more complex encoding algorithms and will produce better quality video at an equivalent transfer rate (of H.264).
The max frame rate for 4MP is 20fps, it can be lowered in case you want to have space saved on the hard drive. The bitrate for 4Mp should be between 4-8 Mbps. As you can see from the picture below, there are two modes Mainstream and Substream.
Mainstream is what’s going to be recorded/stored on the hard drive, the Substream is set on lower settings (resolution, bitrate) and it’s meant when the system/camera is accessed remotely via phone (so it can load faster). However, on the app, you can switch between Mainstream and Substream.

Motion Detection can be found under Event and then Video Detect. First, make sure the Motion is enabled and you can adjust the other settings. For example, the motion can be enabled only on certain timeframes (to adjust click Period).
The motion can be linked in order to get emails or have a snapshot stored on the hard drive, show a message on the monitor, or even make it beep (when connected to a recorder).
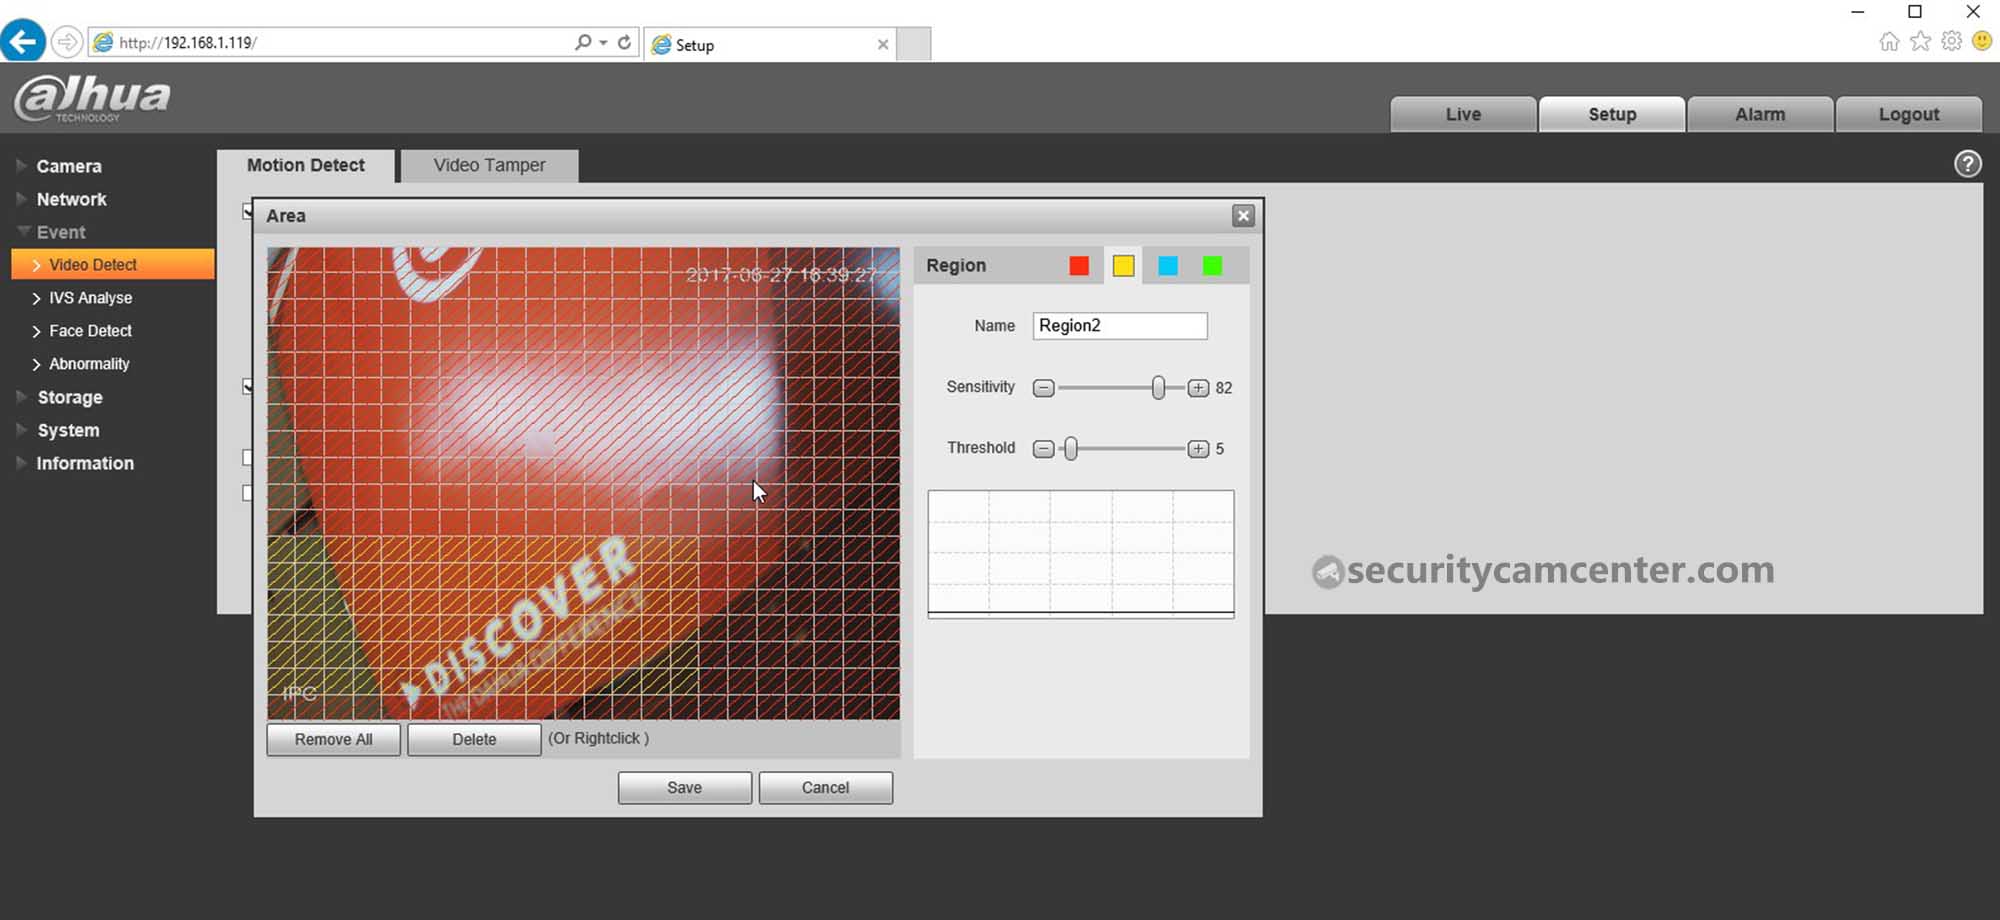
On the Region function, you can exclude parts of the image that you don’t want the camera to be triggered. Let’s say there’s a tree in your backyard that is triggering your camera, using this feature you can exclude the tree from the camera.
Another interesting feature of this section is the ability to have certain areas on different sensitivities (in this example the yellow area is more sensitive than the rest of the picture). The lower the area threshold, the easier to trigger motion detection. You can set up a different threshold for each area. The range is 0~100. The recommenced value is 0~10.
One of the features I like about this camera is the Face Detect feature. I had certain customers who requested this particular feature and generally, the Face Detect works fine as long as the camera is installed properly.
From my experience: Face Detect works well if the camera is positioned on entrance points where one person at a time comes in (for example the entrance of a house) and if the camera is mounted low, almost on eye level.
This camera doesn’t support the Micro SD card, so you’ll need a recorder that supports the Face Detect to store the images (detected faces).

Daytime and Nighttime picture quality
The daytime picture quality is sharp, clear, and vivid. The 4 Megapixel resolution provides a clear image and combined with the right lens size will help you get an excellent view of the area you need to monitor. Below you can see the footage from a job site, the city light level is moderate level.
The camera comes with 12 pieces of IR and according to the manufacturer it will work up to 98 feet (30 meters). From my experience, the nighttime picture on this camera is decent and sharp and it’s perfect for indoor installations. However, for outdoor use, the IRs are not that powerful (but the night picture is still decent).
Conclusion
The Dahua DH-IPC-HDW4421M 4MP Eyeball IP camera offers high-quality images for an affordable price. As you see on the footage posted above, the image is clear and sharp, on both daylight and night vision. For CCTV installers or DIY people, this camera is excellent for mid-range offerings and definitely and a perfect solution for indoor setups.
The size and the shape make the camera not very noticeable and definitely blends well with the surroundings (non-intrusive). If you need a complete CCTV IP system, take a look at our Buyer’s Guide of the best IP camera systems.