In this article we will show to enable/configure the Hik-Connect function on a Hikvision device that’s running on the new Hikvision use interface (so called GUI 4.0). An easy step-by-step guide.
Step 1. Login into your device by typing the username and the password. You can do these settings via web browser or directly through the device.
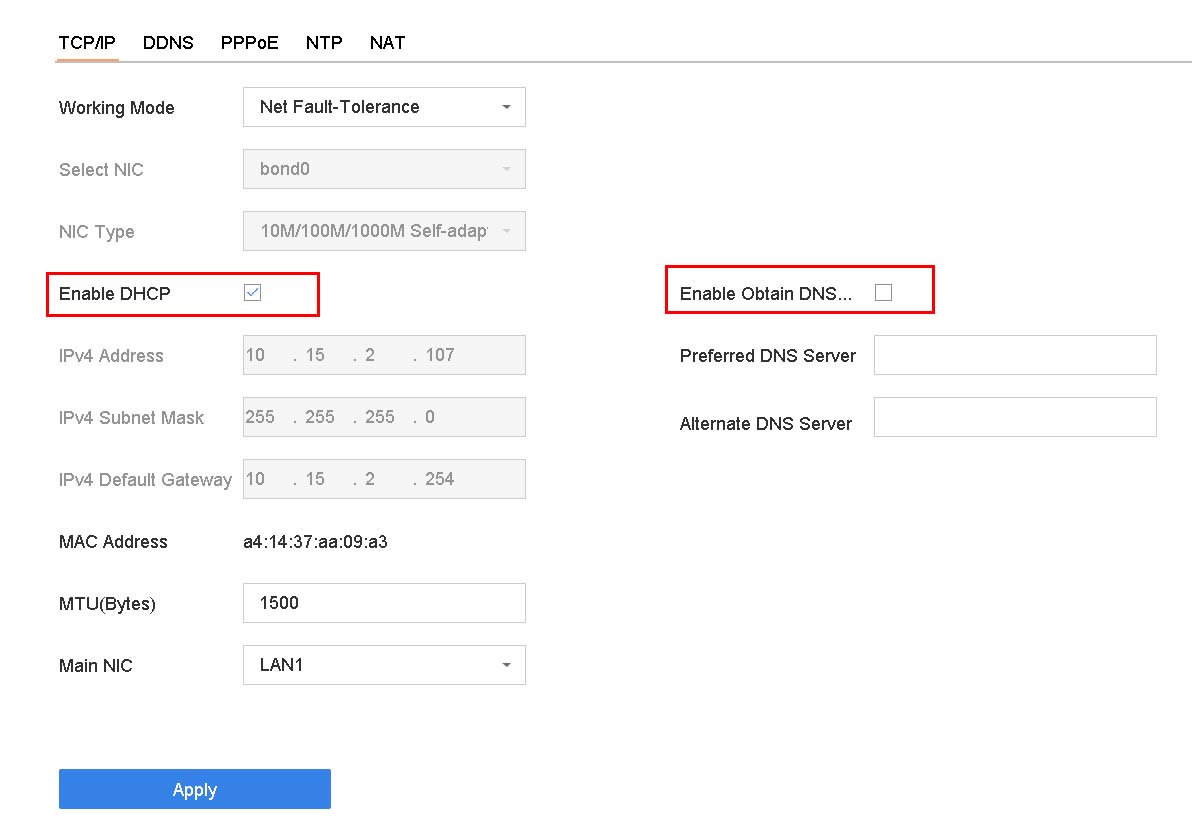
Step 2. Go to System > Network > TCP/IP. Tick “Enable DHCP” and “Enable Obtain DNS…” then click Apply.
 Step 3. Go to System > Network > Advanced > Platform Access.
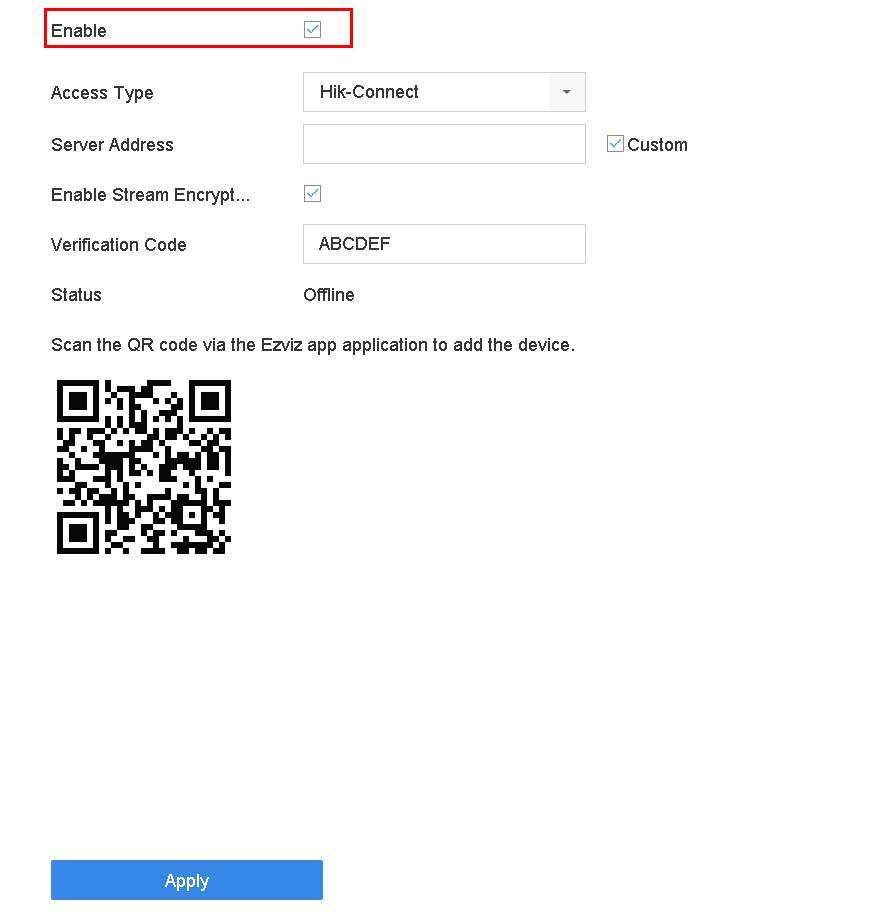
Step 4. Check Enable and a Service Terms window will pop up. Create your verification code, check to agree to the service terms and click OK. Click Apply to save the settings.
Step 5. Add the device to your Hik-Connect account by scanning the QR code using your smartphone (and the Hik-Connect app). This article (How to add device into a Hik-Connect account) shows the steps.
