• About
  • Contact
  • Privacy Policy
SecurityCamCenter.com
  • Home
  • Buying Guide
  • Learning & Tips
  • Technical Guides
  • Security Tips
  • Downloads
  • CCTV Glossary
No Result
View All Result
SecurityCamCenter.com
No Result
View All Result
Home Technical Wyze

How to set Detection Settings and Zones on Wyze cam

Marco Albertini by Marco Albertini
in Wyze

Detection Settings and Zones allow you control when, where, and how motion is detected. Only want to detect motion at your front door, driveway, or that small area around the cookie jar? This article will explain in details how to do the settings correctly and get the most of your Wyze camera.

How motion detection works

Wyze Cam detects motion by comparing pixels changing between video frames. “Motion” is recorded when large clusters of pixels change over time. This large cluster can mean a small object moving close to the camera, or a big object moving farther away (like a tree blowing in the wind).

Detection Settings

You can set the sensitivity of your Wyze Cam in Detection Settings. There, you’ll see a slider with a range of 1-100. This slider will adjust the percentage of changed pixels needed to generate an event video.
To change the settings, go to your Wyze app and pick the camera you would like to edit. This will take you to the Live Stream of that camera. Then tap the Settings icon on the top right. From here, tap Detection Settings.

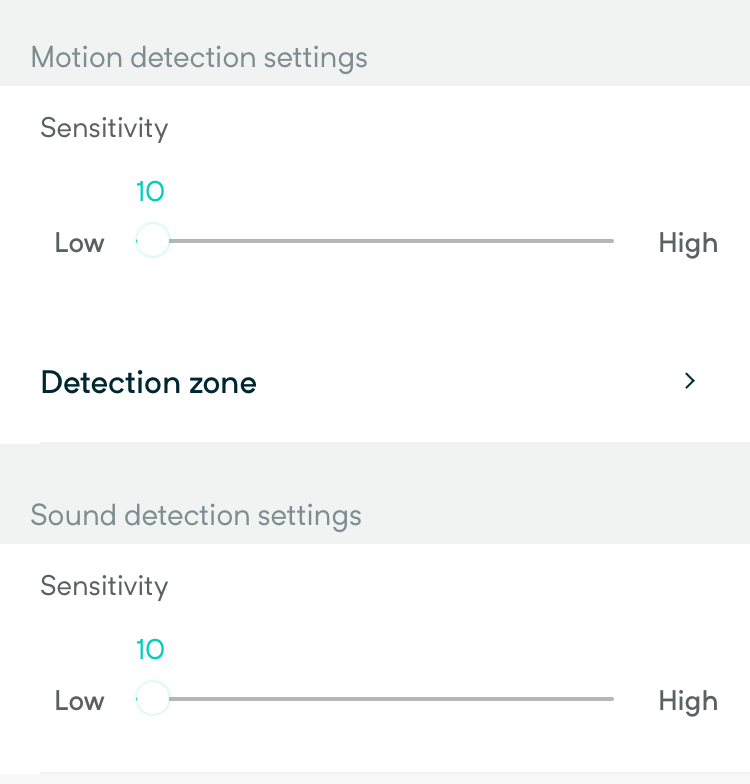
Set up Detection Zones

The Detection Zone feature allows you to define a specific area that you want your Wyze Cam to detect motion in. Everything outside of the zone is ignored and will not trigger an Event Video (if Motion Detection is turned on) or Motion Tracking (if Motion Tracking is turned on). You can use Detection Zones to exclude frequently or publicly accessed areas, such as sidewalks or roads, or only to watch a doorway.
To set up a Detection Zone:
1. In the Wyze app, pick the camera you would like to edit by selecting it to enter the live stream.
2. Tap the Settings > Detection Settings > Detection Zone.
3. Toggle Detection Zone on/off.
4. When Detection Zone is on, drag the corners of the box to set your motion detection target area. The Detection Zone will be saved automatically.

Marco Albertini

Marco Albertini

Italian-born Marco Albertini, with a background in Computer Science, found his passion in security camera systems, alarms, and cloud services. Based in New York since 2010, he's a sought-after expert, assisting numerous businesses and homeowners in securing their properties with advanced solutions.

Related Posts

How-to Wyze Cam

Wyze Error Code 68 (Quick Fix)

How-to Wyze Cam

Wyze Cam Error Code 27 (Quick Fix)

How-to Wyze Cam

How to Connect Wyze Smart Plug to WiFi

How-to Wyze Cam

Fix: Wyze Lock Keeps Jamming

How-to Wyze Cam

Wyze Camera Error Code 6 (quick fix)

How-to Wyze Cam

Wyze Error Code 7 (quick fix)

Load More

Leave a Reply Cancel reply

Your email address will not be published. Required fields are marked *

Latest articles

Buying Guide

Best Wireless Security Camera Systems: No-Wire Solutions for Easy Setup

Buying Guide

Top 8 Best Indoor Security Cameras (2026 List)

Learning & Tips

Will a Laser Pointer Damage a Security Camera?

How To Fix

How to Prevent IR Reflection in Security Cameras

Smoke Detectors

Smoke Detector Beeps Twice and Stops – How to Fix It (2026)

SecurityCamCenter is a participant in the Amazon Services LLC Associates Program. This post may contain affiliate link(s). An affiliate link means we may earn advertising or referral fees if you make a purchase through our links, at no extra cost to you.

Categories

© 2024 SecurityCamCenter.com / Security Tips and Tutorials

No Result
View All Result
  • Home
  • Buying Guide
  • Technical

© 2024 SecurityCamCenter.com / Security Tips and Lessons